I thought I would share my recent project with the group. I was looking around at guitar kits and I stumbled on a 5150 kit at Guitar parts online. I had just finished the refinish on my Pacer special and was ready to take the next step and build a kit guitar. While this kit was not the cheapest one out there, it has turned out to be better quality than some others. I'm pretty sure the parts are made in china.
The Kit: 5150 kit made by Dragonfire
Price: $199 plus shipping. About $224
source: http://www.guitarpartsonline.com/
Parts: Maple neck with Maple fret board, Basswood body, Lic. Floyd Rose style trem, chrome hardware, everything else you need to complete a working guitar except the tools.
[IMG]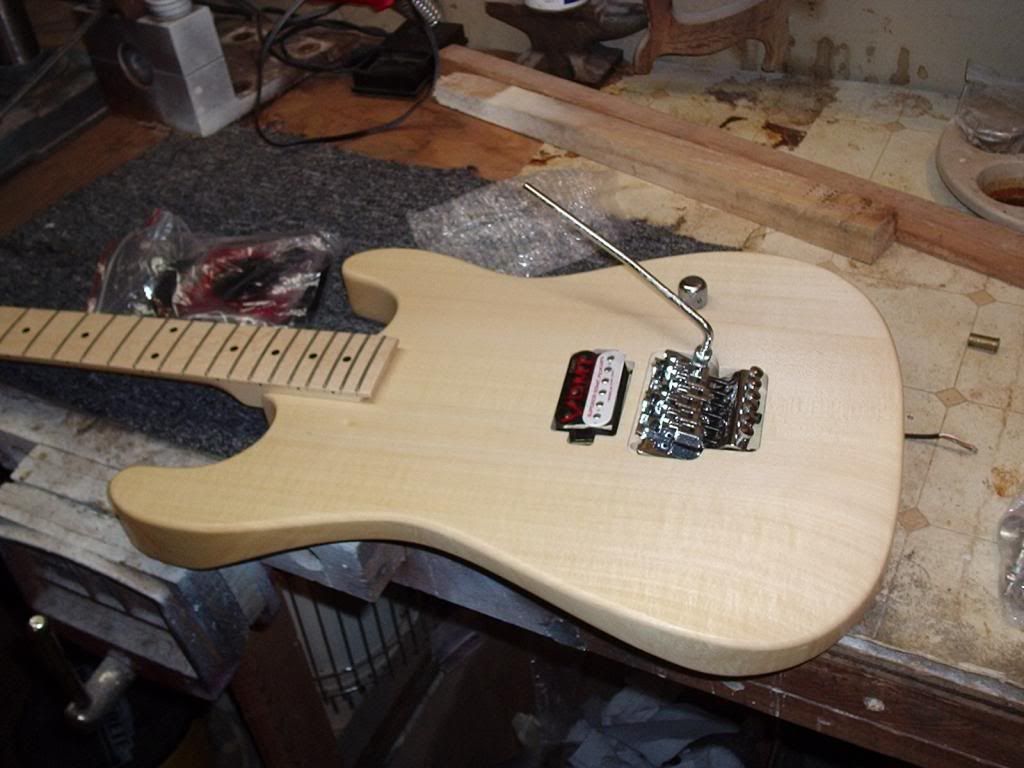 [/IMG]
Both the neck and body came basically ready for a finish. The body had a few rough spots has a single coat of sealer on it.
The Neck: The finish on the neck was beautiful and the frets were all nice and level. The only down side to this neck was the nut shelf. it was no where near the right height for the nut so there were some measurements that had to be made and I carefully removed the wood using sand paper and a file so not to mar the fret board.
[IMG]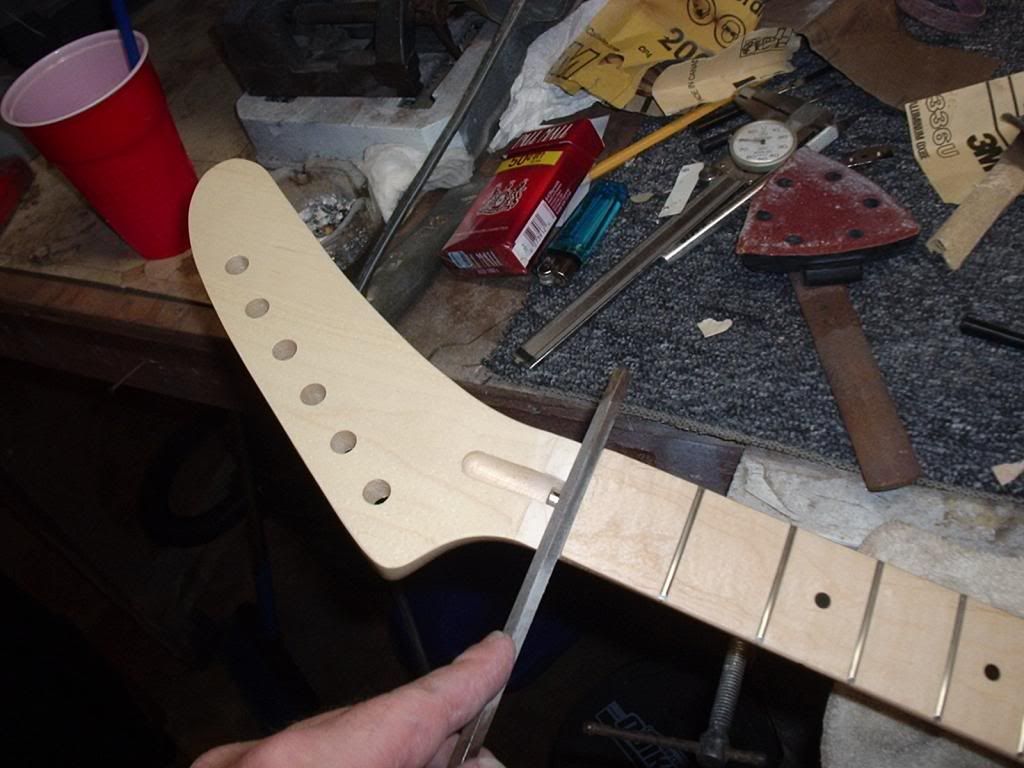 [/IMG]
Once the nut shelf was set, it was time to drill some holes. I marked where the holes should be for the nut and truss cover...
[IMG]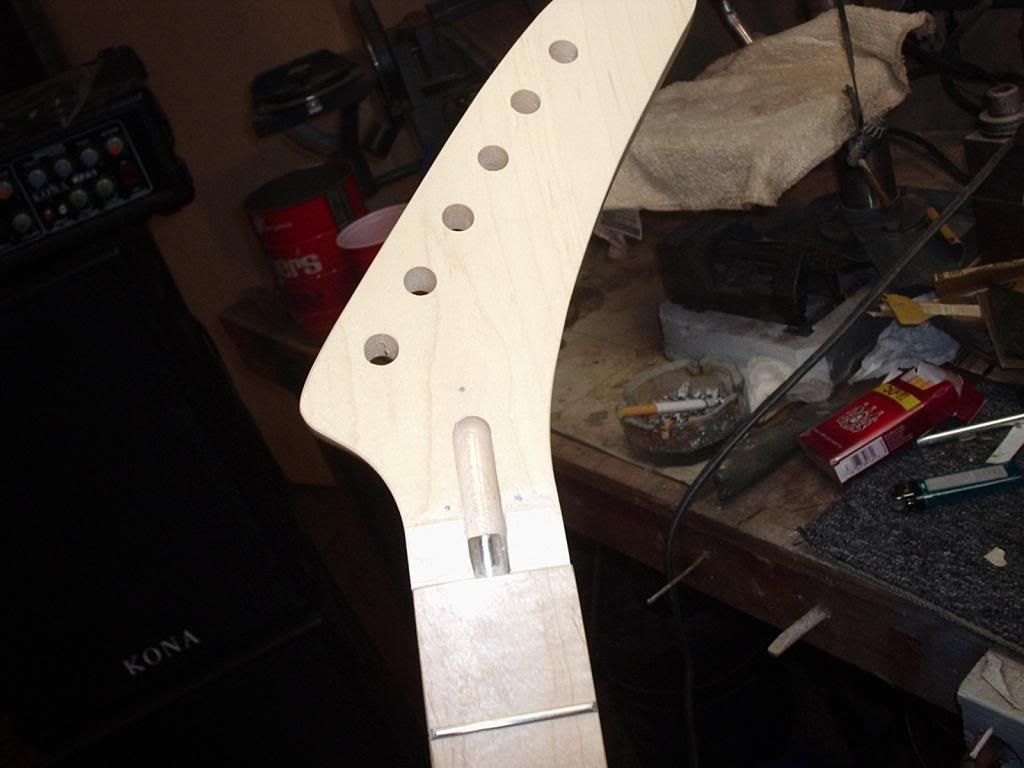 [/IMG]
...and lined up the tuners to get those locations marked.
[IMG]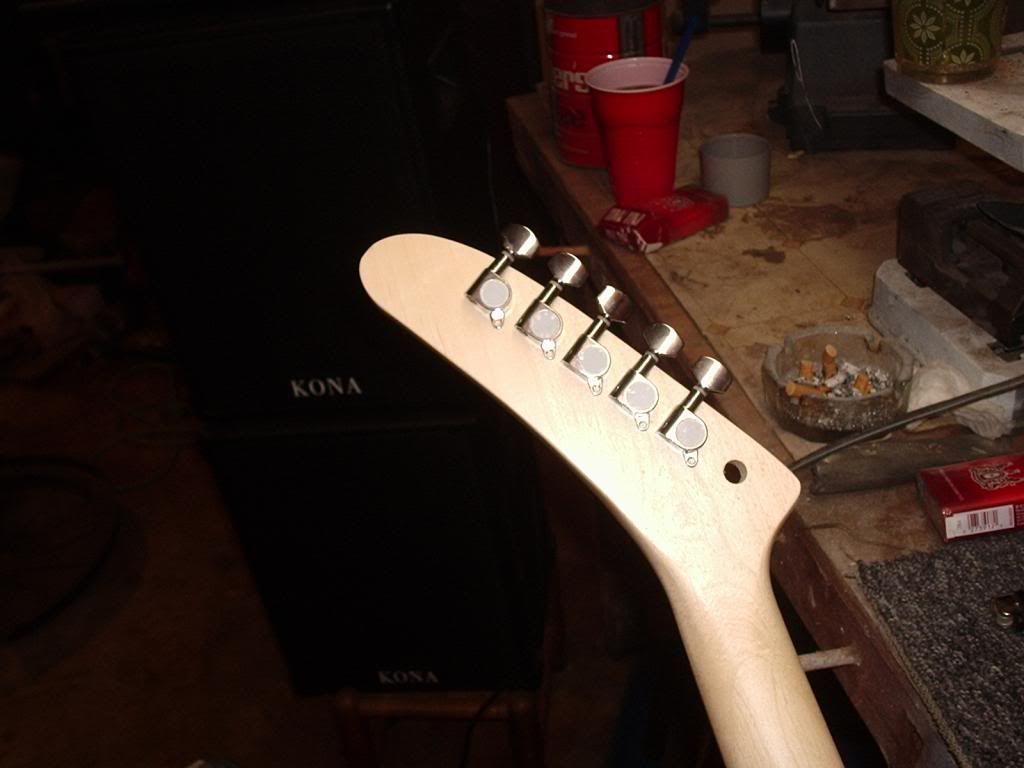 [/IMG]
[IMG]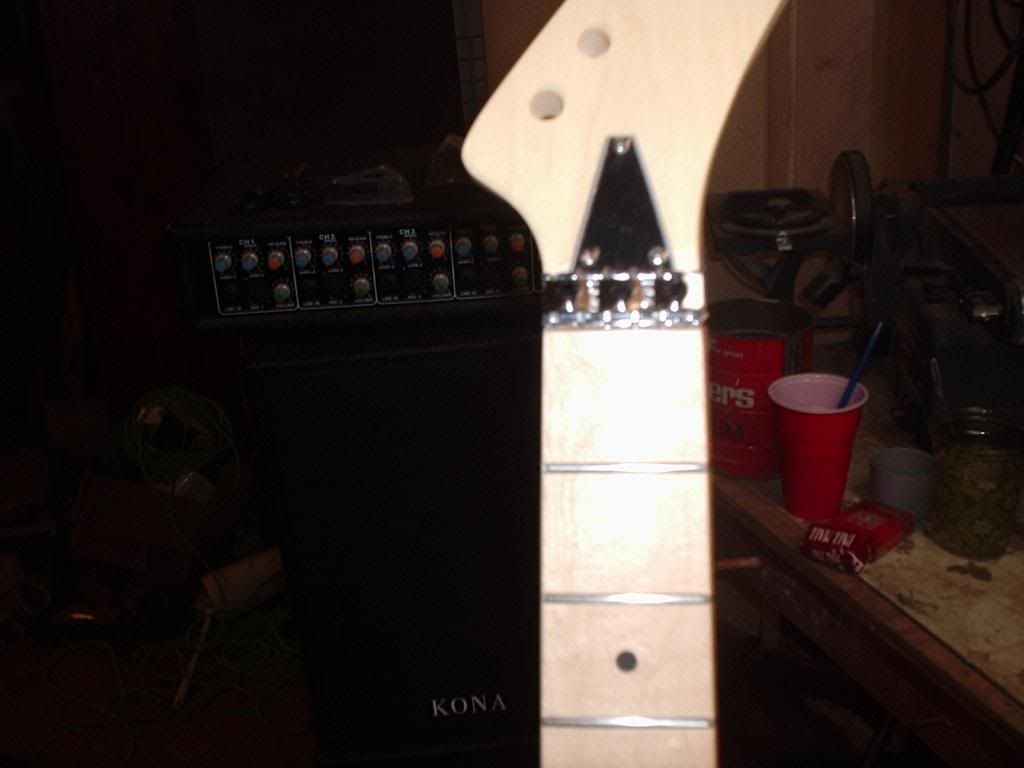 [/IMG]
There was one other slight issue with the neck. the rounded corner of the neck heel didn't match the corner of the neck pocket. So, I cut out a 3"X5" index card in the shape I needed for the corner and marked the neck. In the pic I've already done one side. it was as simple as working a piece of sandpaper back and forth to round the corner.
[IMG]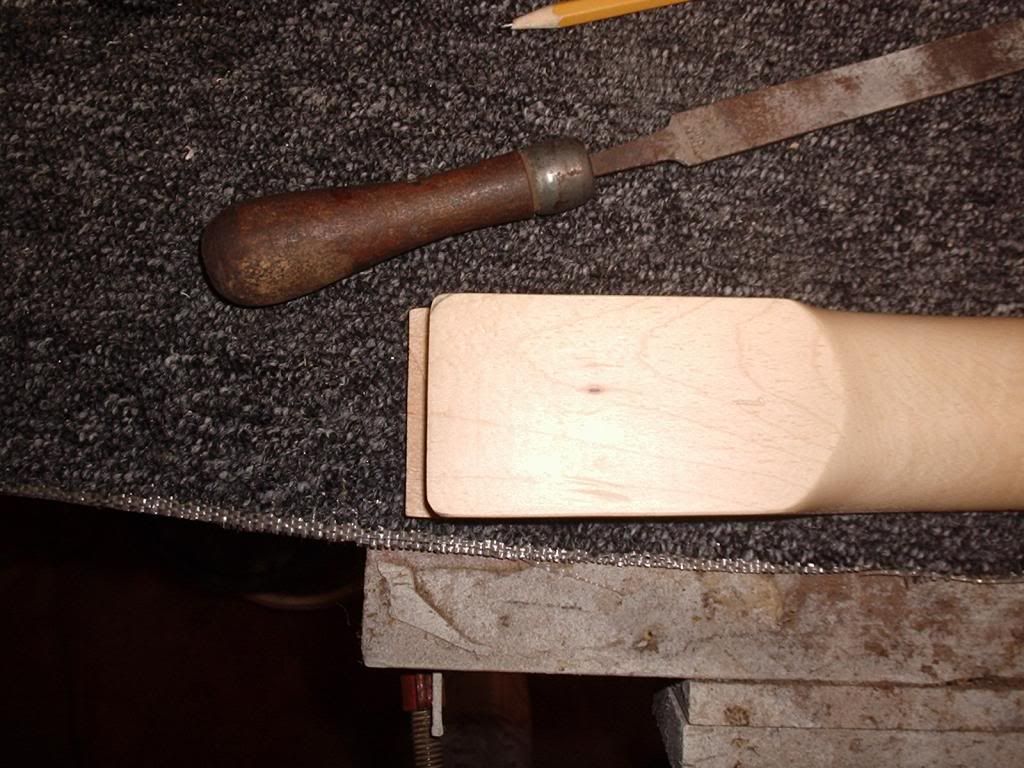 [/IMG]
I don't know if you can see the number "1" stamped on that neck heel but this is part of my safeguard for the future. Since I intend to put a Kramer logo on it I stamped the neck with a "1" and the inside the neck pocket and pup cavity with a "2" for ID purposes. this along with a build thread on the Kramer Forum will help prevent anyone from representing this as more than a replica of a Kramer. Of course in it's hayday Kramer imported parts from over seas, put them together in their factory in NJ and marked them as Made in the USA. So except for some cheap hardware it's almost the same! LOL
NOTE: The pup you saw in the pic IS NOT what comes with the Kit. I worked with a buddy of mine to round up a DMT Time Capsule Zebra.
The Body:
[IMG]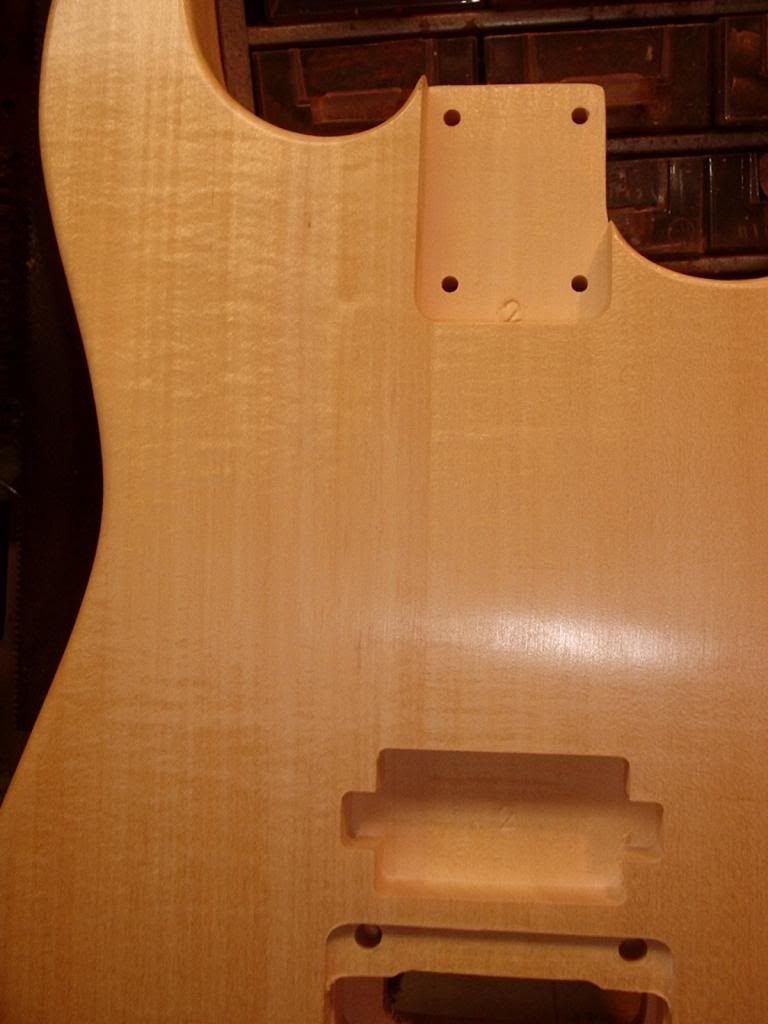 [/IMG]
I've never really worked with Basswood before but I can tell you its kinda heavy. The body is a single piece of wood with all the routes pre-made. The edges of the routes are pretty clean with a few splinters here and there. Nothing you can't use an exacto knife to trim out.
There were a few blemishes but nothing major. I use a wood and vinyl filler putty from Home Depot. I use a painting stick to bolt the body to making moving the body around easier. it also lets me hold the guitar at different angles to get all the corners. I masked off the neck pocket and The first step is a good primer coat. I like to put several coats of primer on before I wet sand the first time with 400 grit wet/dry sand paper. Once all the blemishes are smoothed out and the surface is completely smooth. Since the guitar will have a black base coat it's really important the surface be flawless.
Once the body is ready I start the base coat. Now I'm using rattle cans which takes a lot of time and depending on what type of paint it is can take a long time to cure. You basically keep applying light coats of paint allowing each to dry in between. I start out with the goal of applying the entire can but it can take up to 1 1/2 so I go ahead and buy two just in case something tragic happens.
[IMG]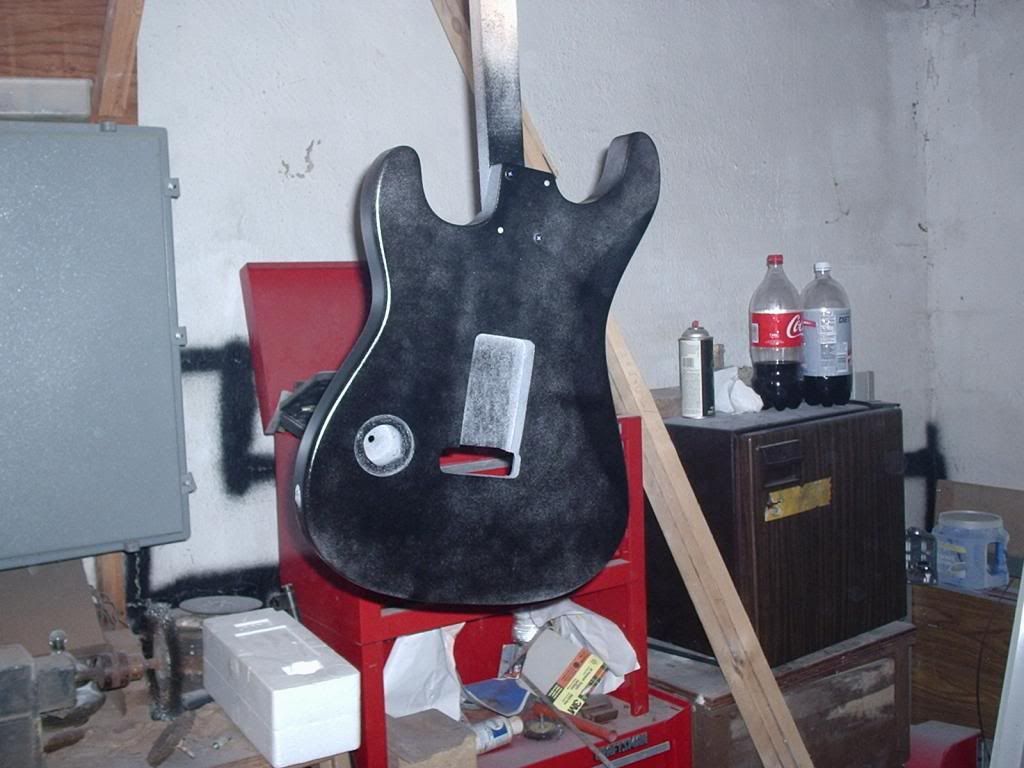 [/IMG]
[IMG]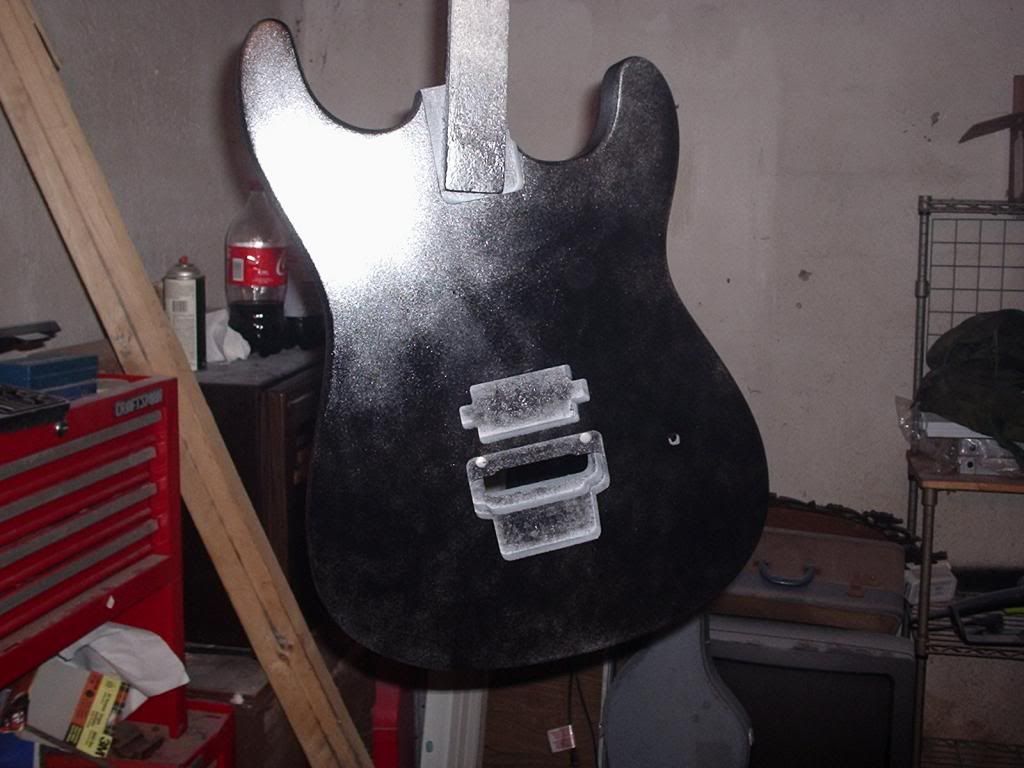 [/IMG]
[IMG]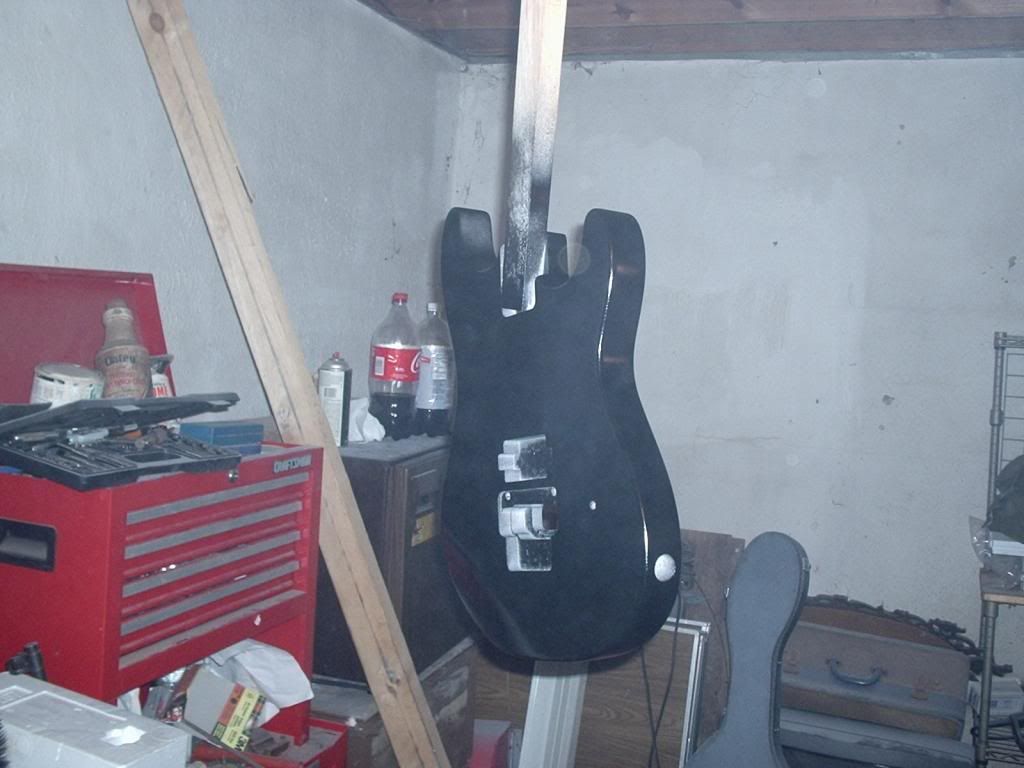 [/IMG]
Once the base coat is filling in I let the body dry for at least 8 hours and then lightly wet sand with 2000 grit. this is just to knock off any little dust particles, slight runs, or anything else keeping the body from being smooth. then back to the base coat. I'll repeat the wet sanding every other coat so the paint stays smooth.
While waiting between coats I masked off the frets and sprayed the neck with clear gloss lacquer.
[IMG]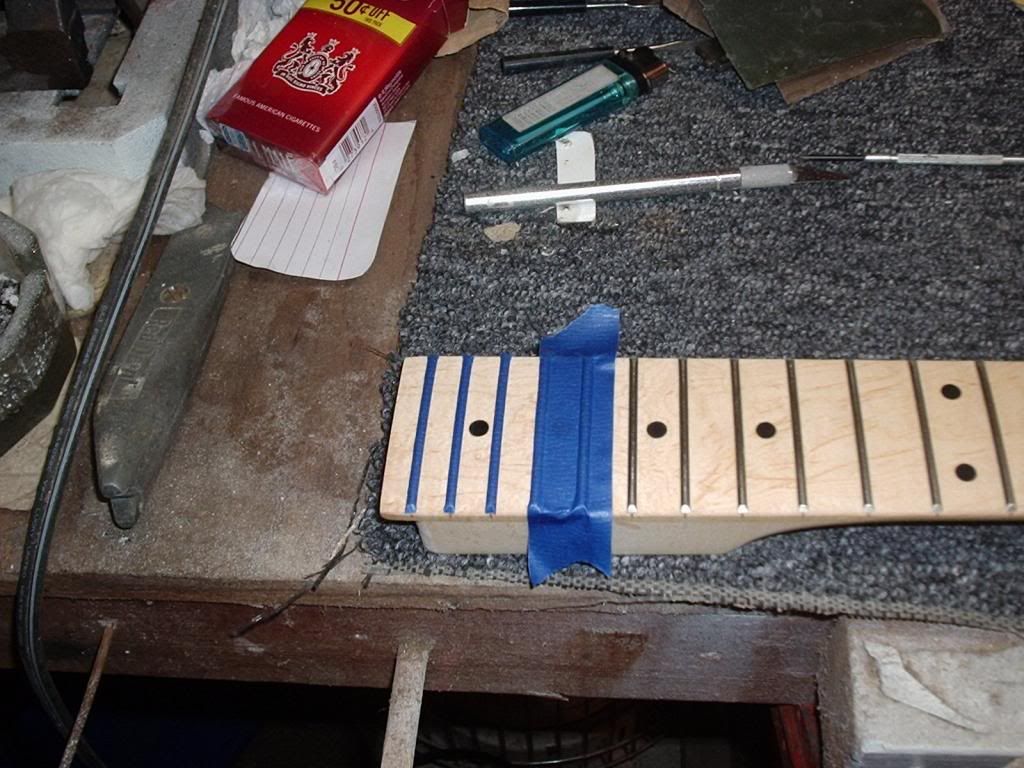 [/IMG]
[IMG]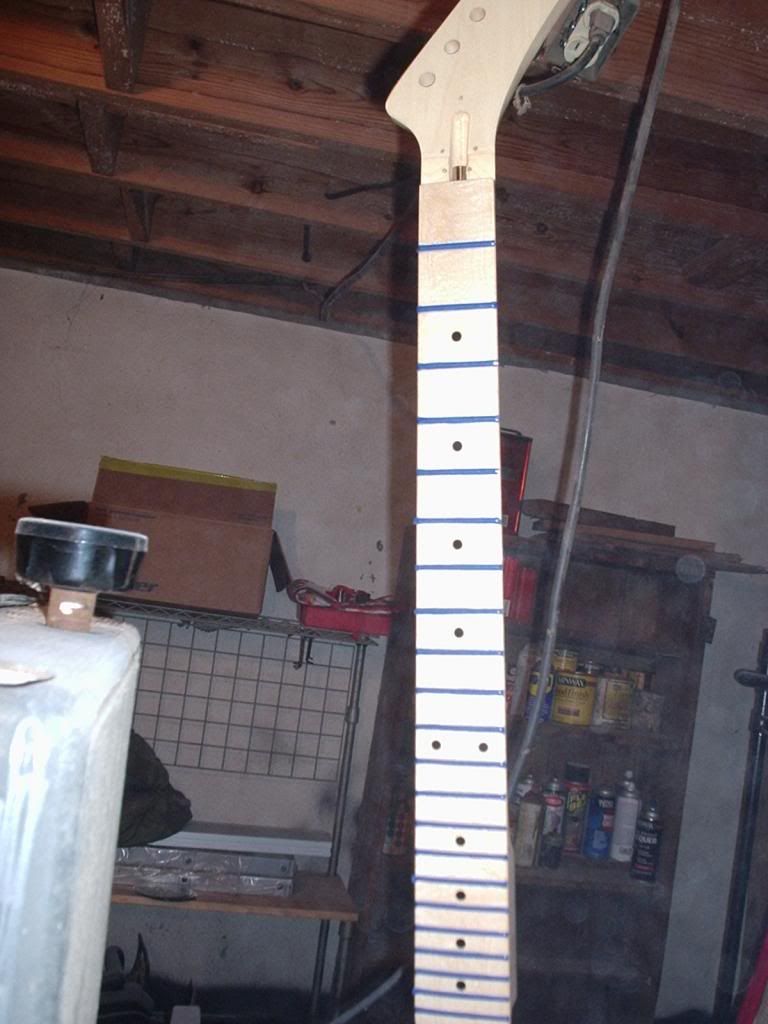 [/IMG]
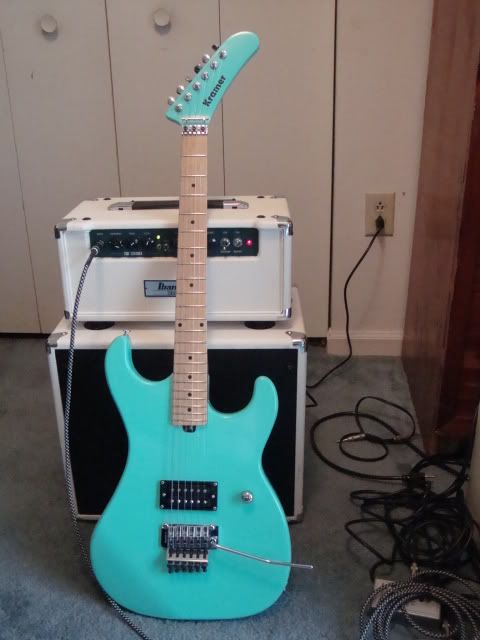
If you couldn't tell, I'm not copying the classic 5150 stripes and color. Nothing against Eddie but I've never been much of a fanboy and I firmly believe you can't make a name for yourself if your promoting someone elses name. Anyway, with that in mind I knew what I wanted and how I was gonna get it.
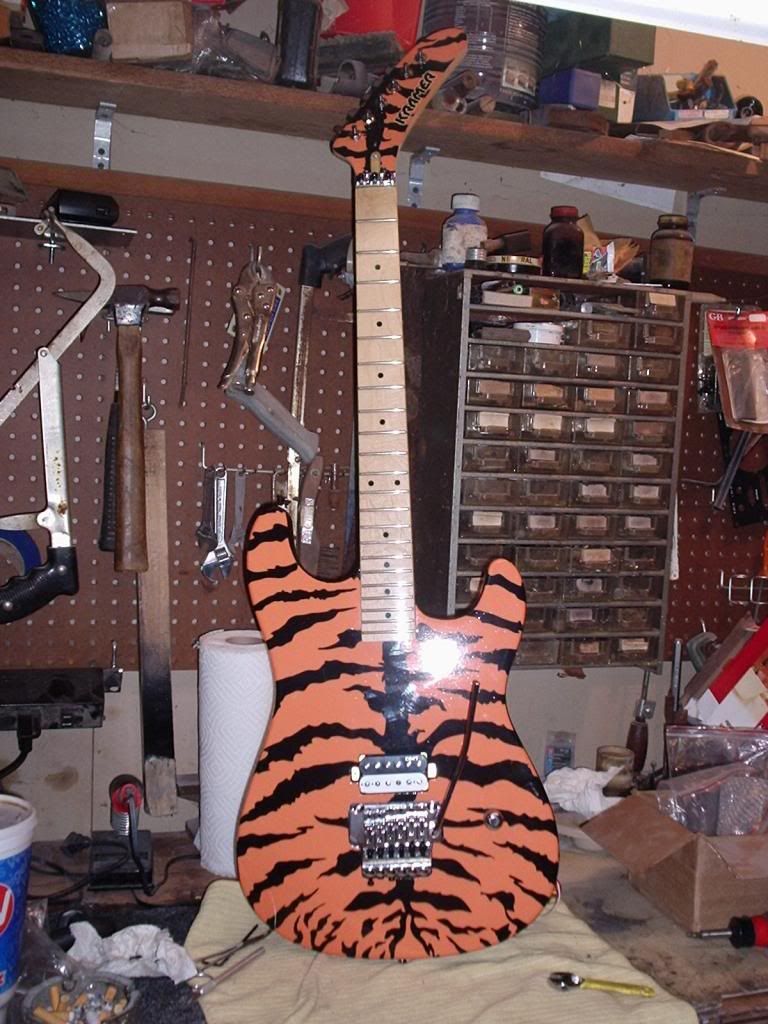
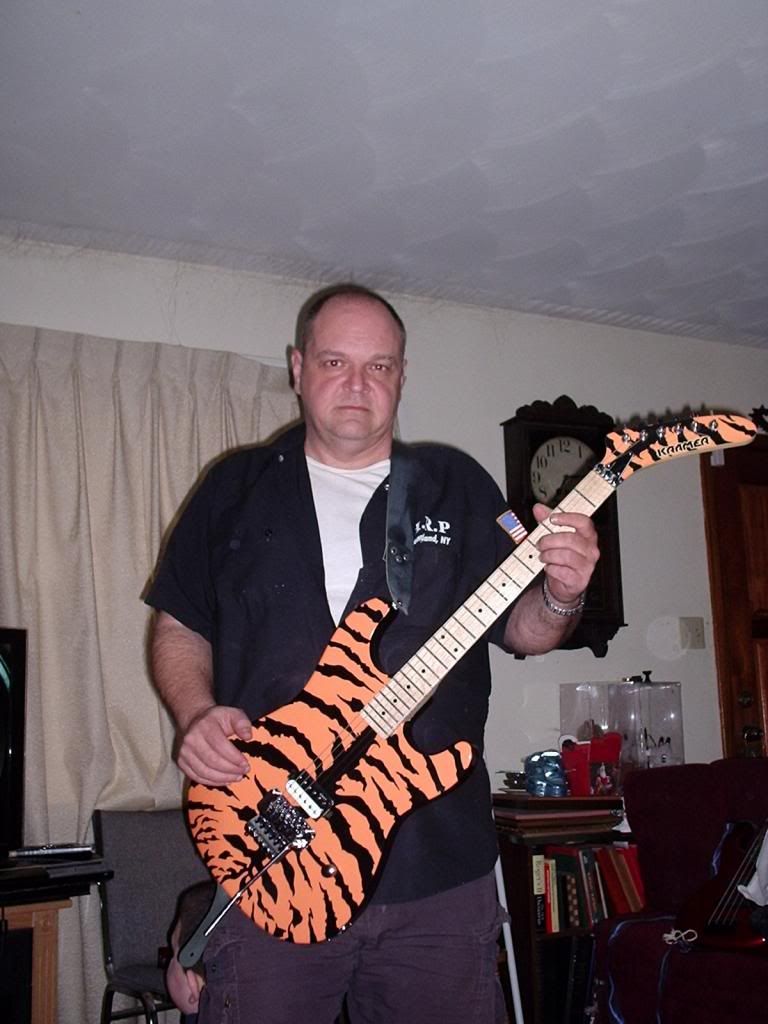
Body, head Decal set Customized Tiger
Price: $85 after shipping
Source: Inzane Decals http://www.inzanedecals.com/index.html
Materials: Front decal for the body, head decal with Kramer 3D logo.
When the decal set came in from Inzane I started with the head.
instructions for how to apply the decal are on the site and they send you a pdf file which goes into more detail.
Needless to say I couldn't exactly take pics while working with the decals. I figured you just wanted to see the end result anyway.
[IMG]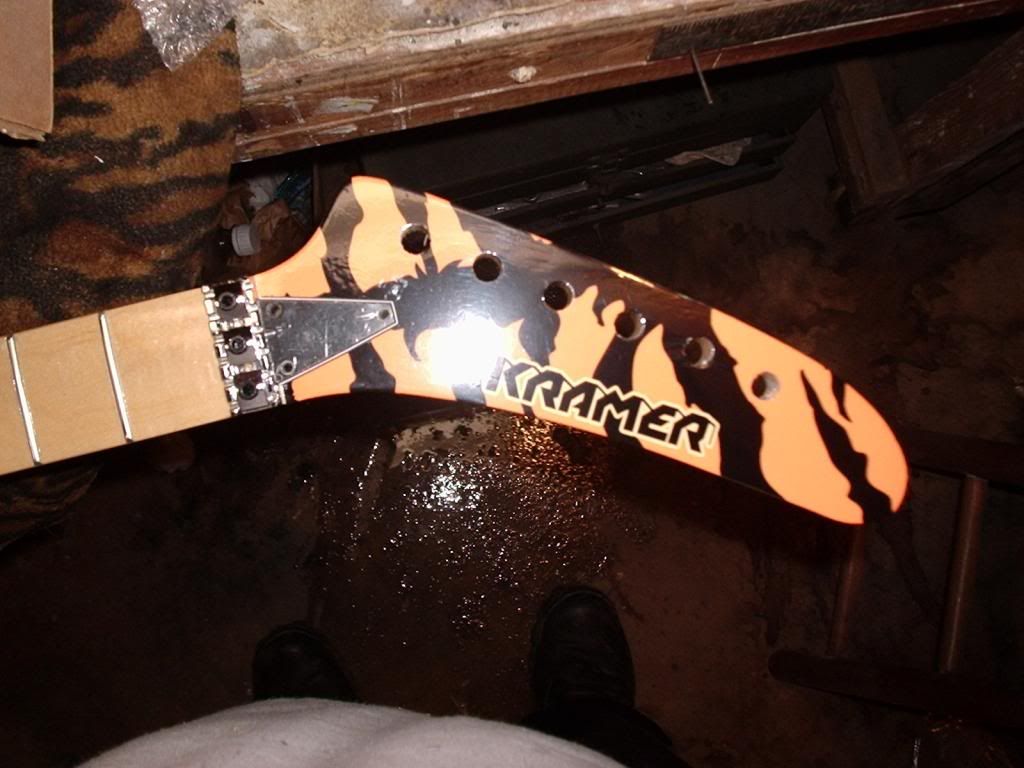 [/IMG]
Now more clear lacquer and assemble the neck components.
[IMG]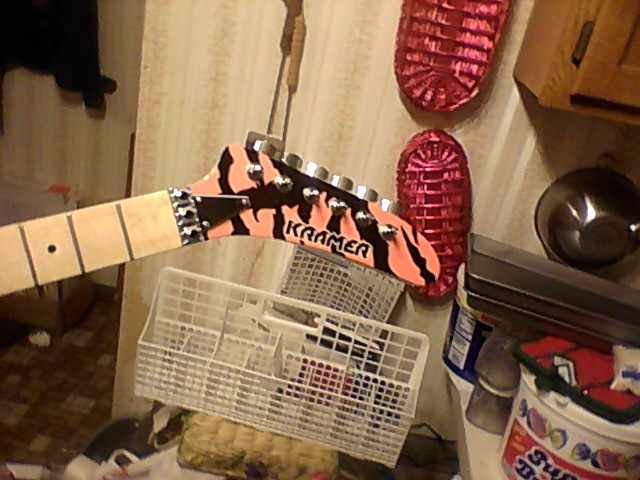 [/IMG]
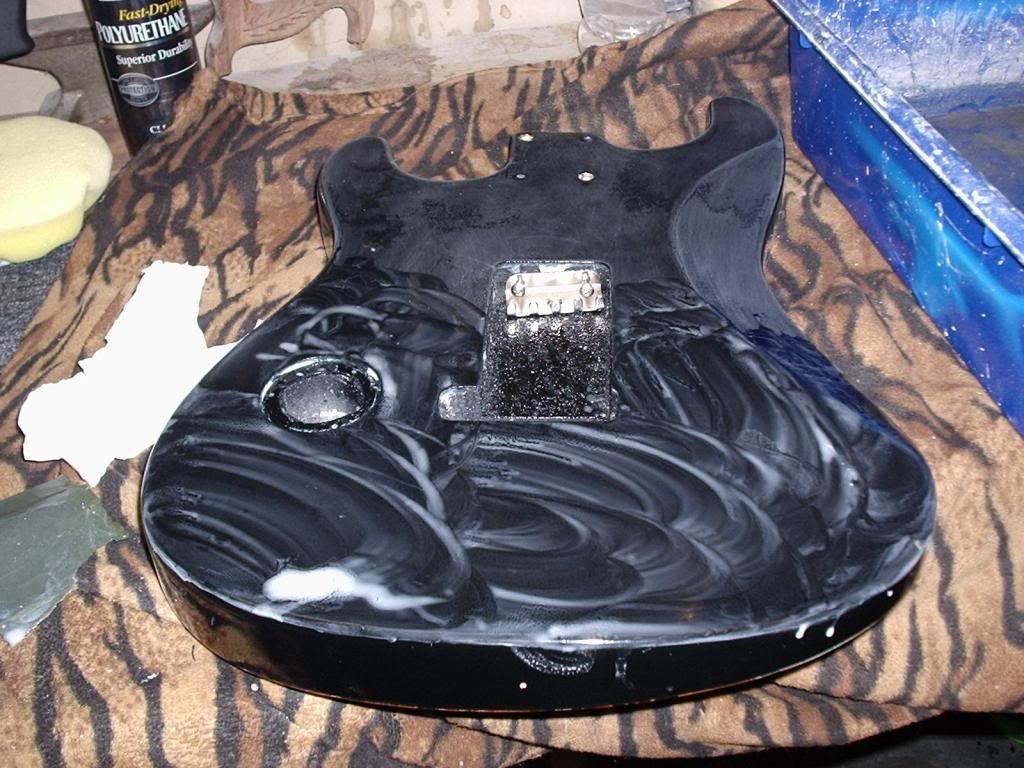
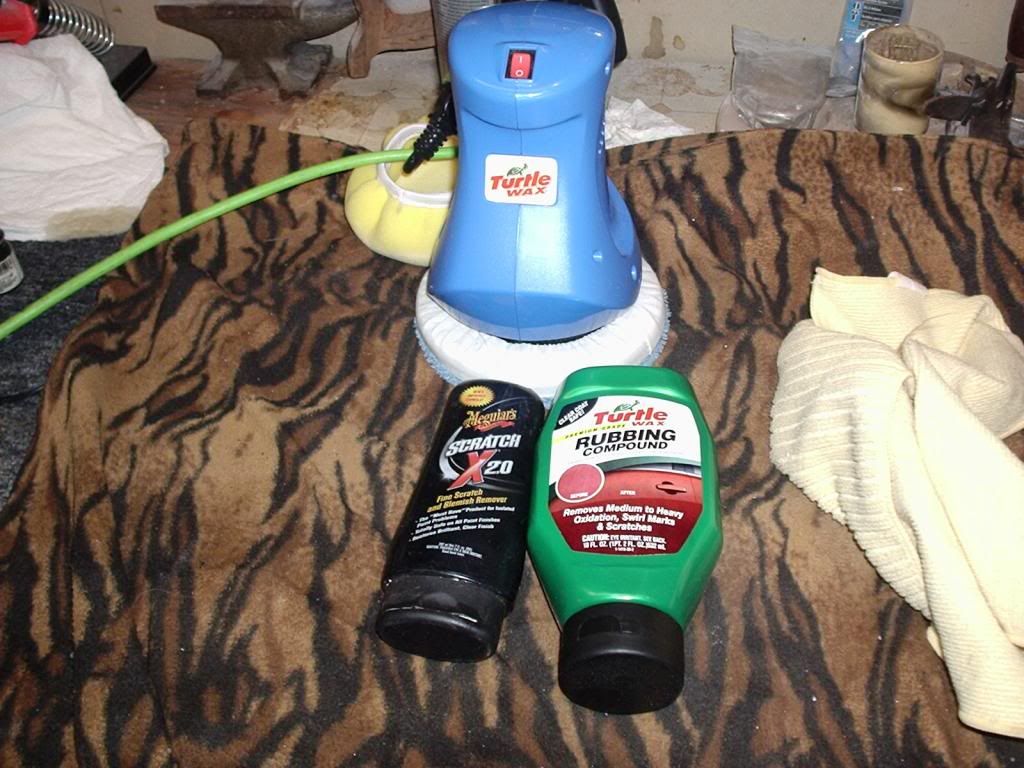
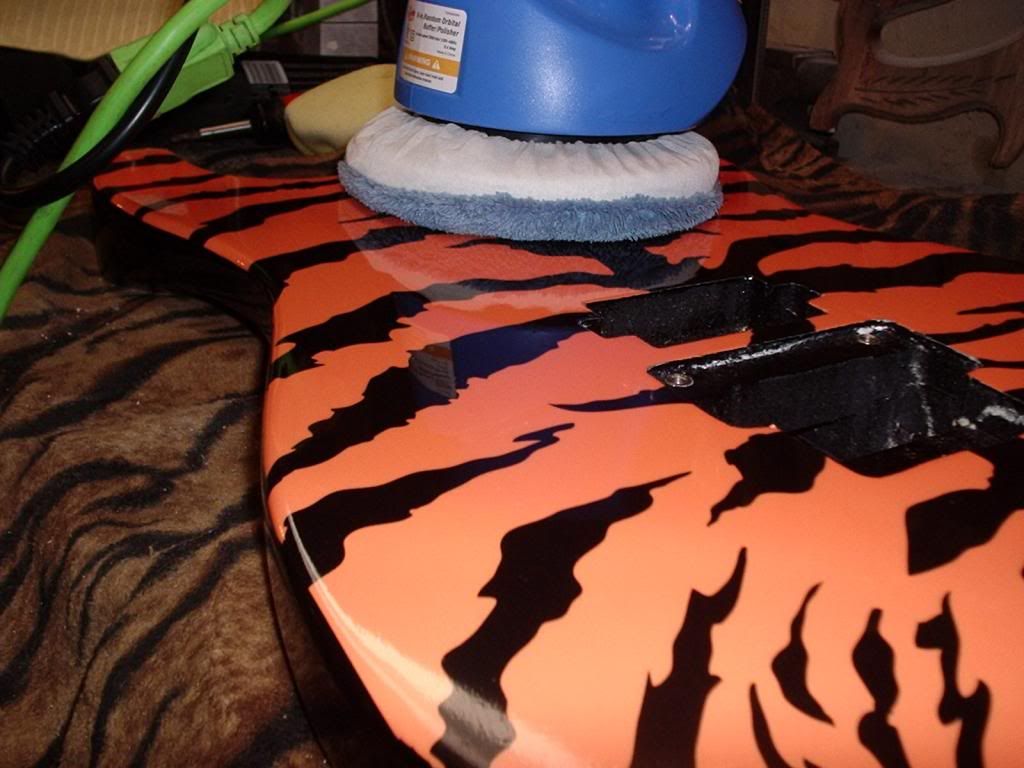
The body is a little more involved.
[IMG]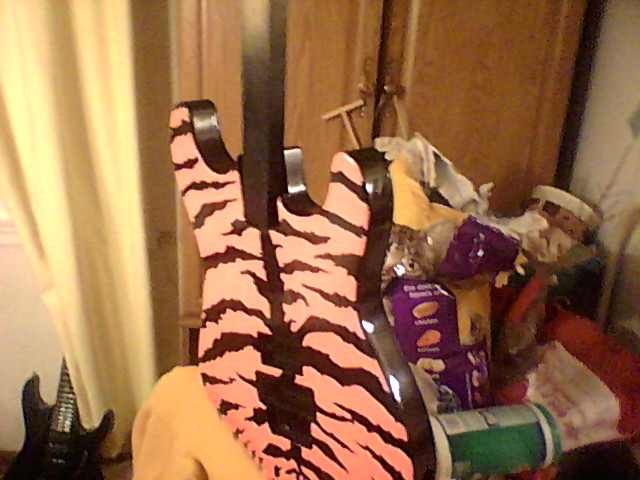 [/IMG]
[IMG]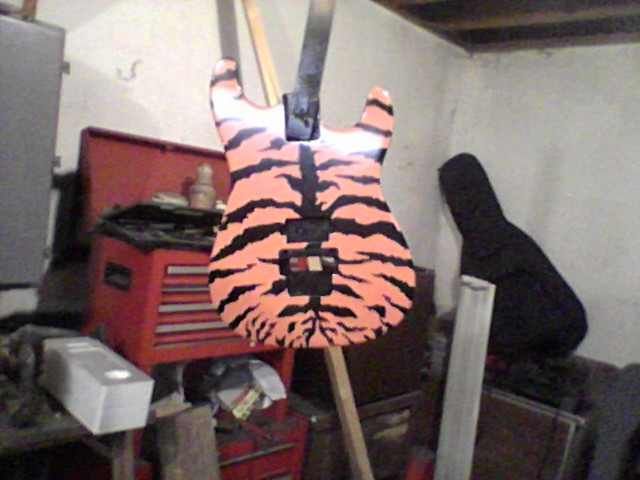 [/IMG]
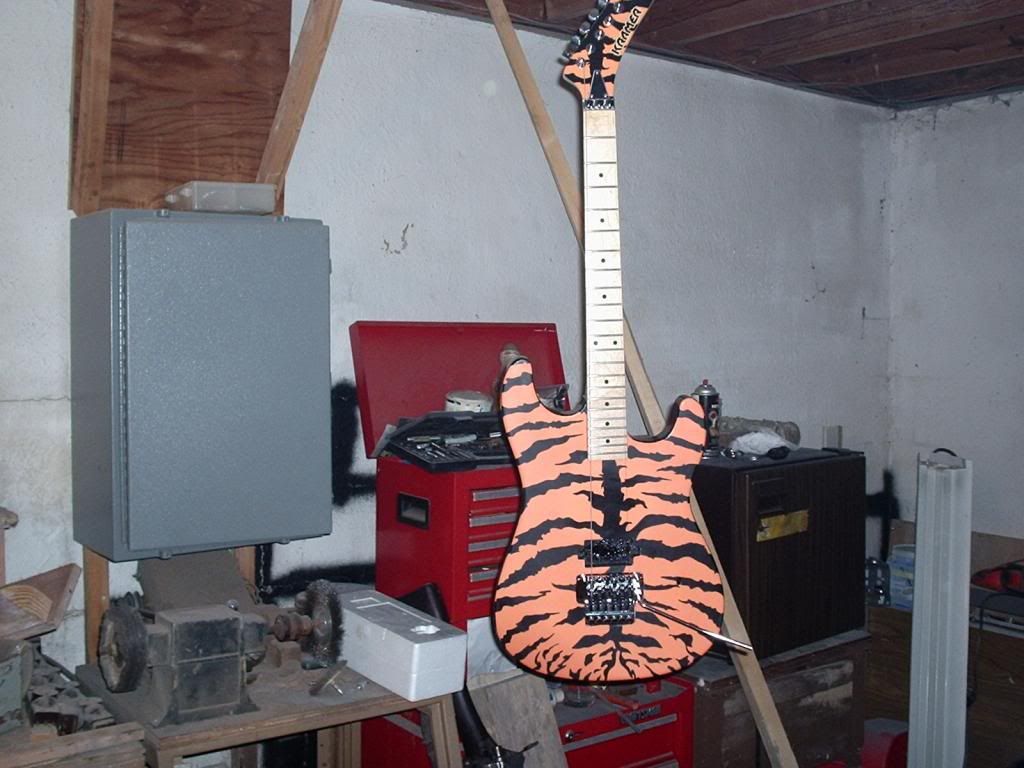
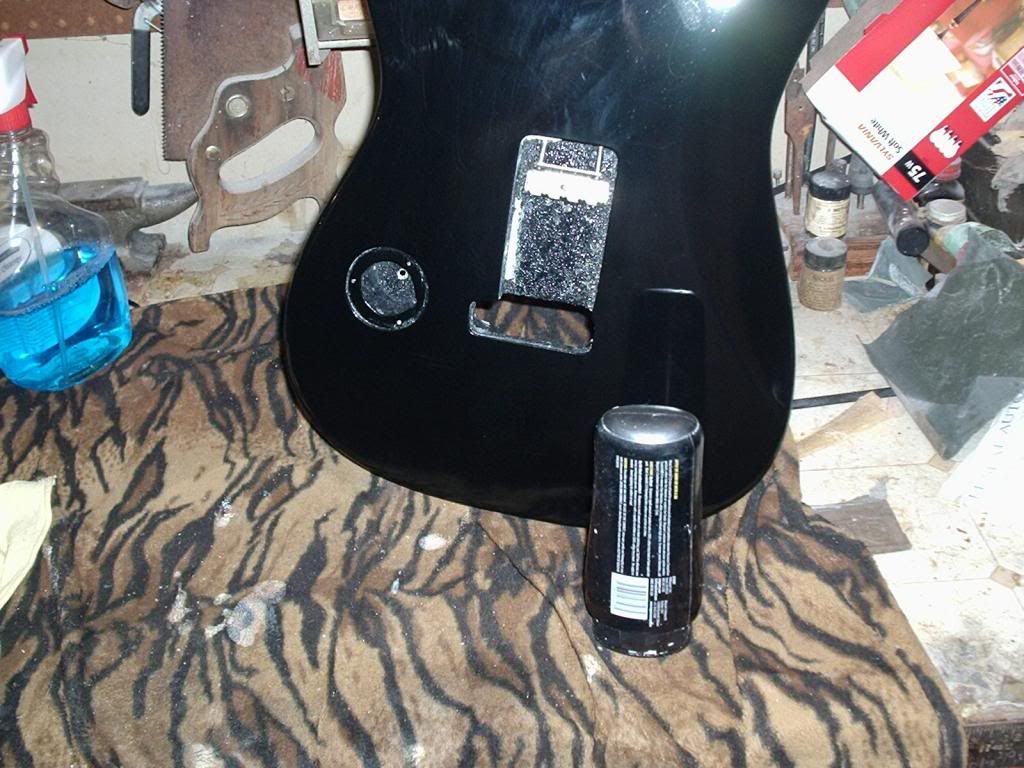
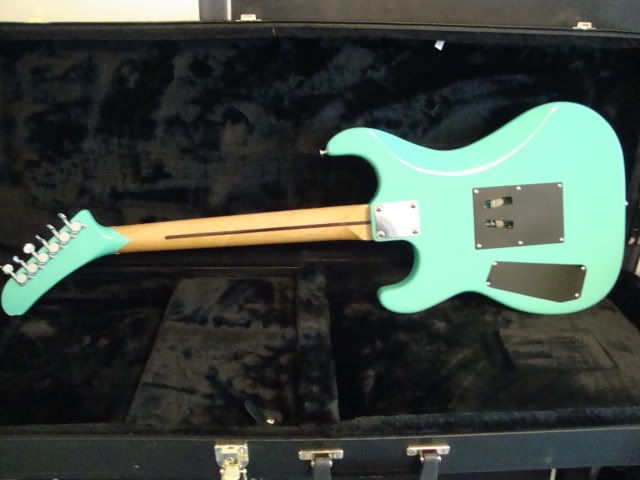
Just for kicks I figured I would break up all that black on the back with a piece of extra decal left over.
[IMG]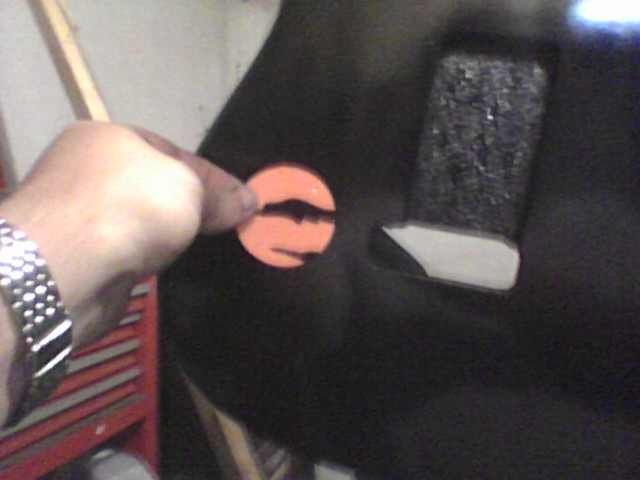 [/IMG]
The Kit: 5150 kit made by Dragonfire
Price: $199 plus shipping. About $224
source: http://www.guitarpartsonline.com/
Parts: Maple neck with Maple fret board, Basswood body, Lic. Floyd Rose style trem, chrome hardware, everything else you need to complete a working guitar except the tools.
[IMG]
 [/IMG]
Both the neck and body came basically ready for a finish. The body had a few rough spots has a single coat of sealer on it.
The Neck: The finish on the neck was beautiful and the frets were all nice and level. The only down side to this neck was the nut shelf. it was no where near the right height for the nut so there were some measurements that had to be made and I carefully removed the wood using sand paper and a file so not to mar the fret board.
[IMG]
 [/IMG]
Once the nut shelf was set, it was time to drill some holes. I marked where the holes should be for the nut and truss cover...
[IMG]
 [/IMG]
...and lined up the tuners to get those locations marked.
[IMG]
 [/IMG]
[IMG]
 [/IMG]
There was one other slight issue with the neck. the rounded corner of the neck heel didn't match the corner of the neck pocket. So, I cut out a 3"X5" index card in the shape I needed for the corner and marked the neck. In the pic I've already done one side. it was as simple as working a piece of sandpaper back and forth to round the corner.
[IMG]
 [/IMG]
I don't know if you can see the number "1" stamped on that neck heel but this is part of my safeguard for the future. Since I intend to put a Kramer logo on it I stamped the neck with a "1" and the inside the neck pocket and pup cavity with a "2" for ID purposes. this along with a build thread on the Kramer Forum will help prevent anyone from representing this as more than a replica of a Kramer. Of course in it's hayday Kramer imported parts from over seas, put them together in their factory in NJ and marked them as Made in the USA. So except for some cheap hardware it's almost the same! LOL
NOTE: The pup you saw in the pic IS NOT what comes with the Kit. I worked with a buddy of mine to round up a DMT Time Capsule Zebra.
The Body:
[IMG]
 [/IMG]
I've never really worked with Basswood before but I can tell you its kinda heavy. The body is a single piece of wood with all the routes pre-made. The edges of the routes are pretty clean with a few splinters here and there. Nothing you can't use an exacto knife to trim out.
There were a few blemishes but nothing major. I use a wood and vinyl filler putty from Home Depot. I use a painting stick to bolt the body to making moving the body around easier. it also lets me hold the guitar at different angles to get all the corners. I masked off the neck pocket and The first step is a good primer coat. I like to put several coats of primer on before I wet sand the first time with 400 grit wet/dry sand paper. Once all the blemishes are smoothed out and the surface is completely smooth. Since the guitar will have a black base coat it's really important the surface be flawless.
Once the body is ready I start the base coat. Now I'm using rattle cans which takes a lot of time and depending on what type of paint it is can take a long time to cure. You basically keep applying light coats of paint allowing each to dry in between. I start out with the goal of applying the entire can but it can take up to 1 1/2 so I go ahead and buy two just in case something tragic happens.
[IMG]
 [/IMG]
[IMG]
 [/IMG]
[IMG]
 [/IMG]
Once the base coat is filling in I let the body dry for at least 8 hours and then lightly wet sand with 2000 grit. this is just to knock off any little dust particles, slight runs, or anything else keeping the body from being smooth. then back to the base coat. I'll repeat the wet sanding every other coat so the paint stays smooth.
While waiting between coats I masked off the frets and sprayed the neck with clear gloss lacquer.
[IMG]
 [/IMG]
[IMG]
 [/IMG]
If you couldn't tell, I'm not copying the classic 5150 stripes and color. Nothing against Eddie but I've never been much of a fanboy and I firmly believe you can't make a name for yourself if your promoting someone elses name. Anyway, with that in mind I knew what I wanted and how I was gonna get it.
Body, head Decal set Customized Tiger
Price: $85 after shipping
Source: Inzane Decals http://www.inzanedecals.com/index.html
Materials: Front decal for the body, head decal with Kramer 3D logo.
When the decal set came in from Inzane I started with the head.
instructions for how to apply the decal are on the site and they send you a pdf file which goes into more detail.
Needless to say I couldn't exactly take pics while working with the decals. I figured you just wanted to see the end result anyway.
[IMG]
 [/IMG]
Now more clear lacquer and assemble the neck components.
[IMG]
 [/IMG]
The body is a little more involved.
[IMG]
 [/IMG]
[IMG]
 [/IMG]
Just for kicks I figured I would break up all that black on the back with a piece of extra decal left over.
[IMG]
 [/IMG]
 [/IMG]
 [/IMG]

 [/IMG]
 [/IMG]
 [/IMG]
 [/IMG]
 [/IMG]
 [/IMG]
Comment