 Tweet
Tweet
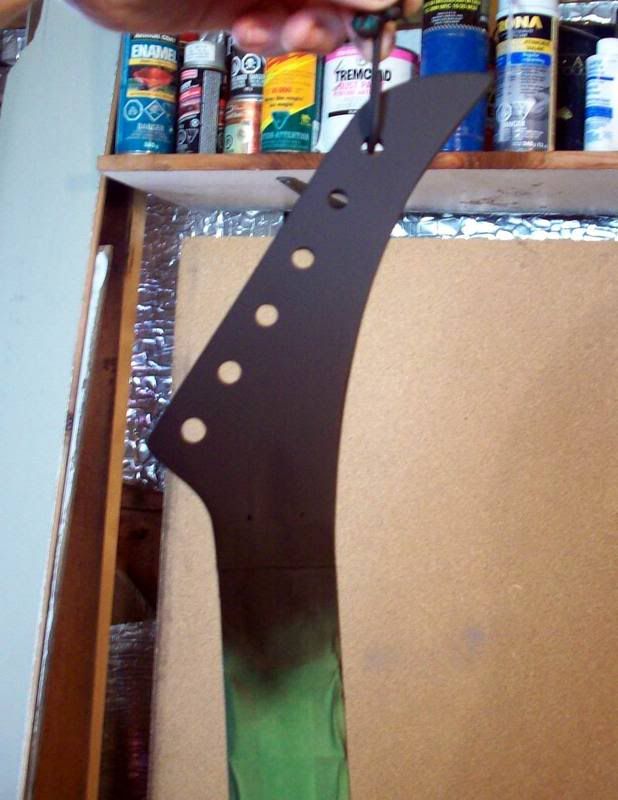
Excellent job! Man, the new headstock looks fantastic!
-
"POOP" -
Basically, vectorized means that it can be enlarged do any size without distorting or pixelating. You can take it to a sign maker and he will be able to make it any size you want and it will be perfect.Originally posted by zeegler View PostImagine, being able to be magically whisked away to... Delaware. Hi... Im in... Delaware...
Comment
-
Cool. I just happen to know someone who works at a signmaker shop.Originally posted by RobRR View PostComment
-
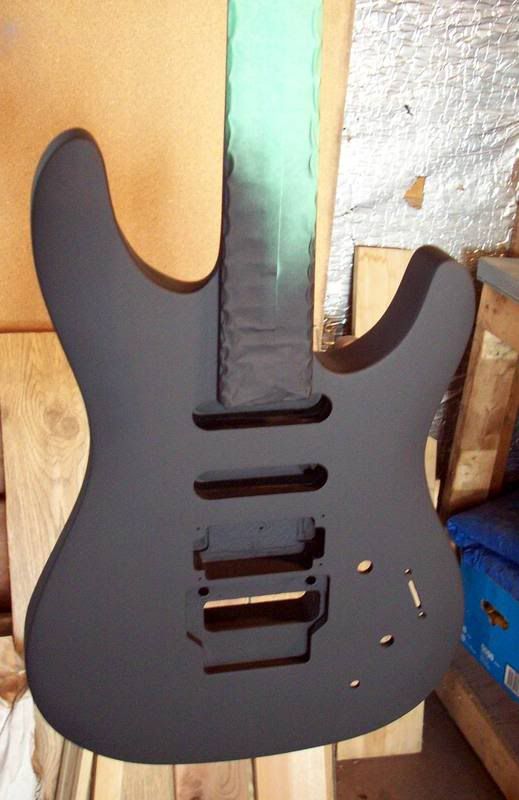
I spent a couple of hours last night sanding after the second coat of color. I didn't bother to grain fill the neck and headstock, and now I'm regretting it. I figured I would just do more coats, and sand it back between coats. It's going to take a fair amount of paint. That'll teach me for being lazy.
Fortunately, the body wood is not the same, and has tight pores. Oddly enough, according to the guitar specs, it is supposed to be mahogany body AND neck. The neck is definitely some type of mahogany (very fragrant too), but I have no idea what the body is. It's a hardwood, but unlike any wood I've seen before.
Anyway, I threw another coat on today, and once this coat is dried up nicely, I'll drill the new bridge post holes, and the toggle switch hole. I waited until now because I don't want to load the holes up with paint too much.
One more coat of paint, and then a few coats of clear should do the trick. I've been wondering what type of clear to use, as I've never found a really nice hard rattlecan clearcoat before. I'll have to do some research on that. This is probably the last paintjob I do with rattlecans. I'm gonna buy myself a decent HVLP spray gun and do it properly in the future.
I've been thinking about hardware and pickups and such, and I don't think I'm going to stick to the Hetfield theme too strictly. I've never had much luck with EMGs before, so I might just use a Duncan Custom/59 combo, and install plastic covers like I did on my KV-1. They look like EMGs, but they're not.
More to come.Comment
-
Small setback. I drilled out the hole for the toggle switch, but I didn't have a bit that was the correct size, so I used a Dremel with a grinding bit on it to enlarge the hole a little. Well, it got the wood so hot, that the poplar plug must have expanded, and now you can see it underneath the paint. I'm going to have to sand it back down, bondo it AGAIN, and repaint the area. I'd post a pic, but it probably wouldn't even show up.
Ah well, live and learn. Next time I'll get off my ass, and go down the street to buy a damn drill bit of the correct size.Comment
-
Wow Zeeg! Nice project. And a "Hetfield White" too. Man after my own heart. Looks killer so far. I wish I had the space to do a project like that. Living in a cramped apartment limits your experimentation/projects. Good luck with the rest._______________________
semi-automatic hate machine...Comment
-
I haven't given up. I have to do one more color coat, do the logo, and then I'm ready for clear. Pics to follow.Comment
-
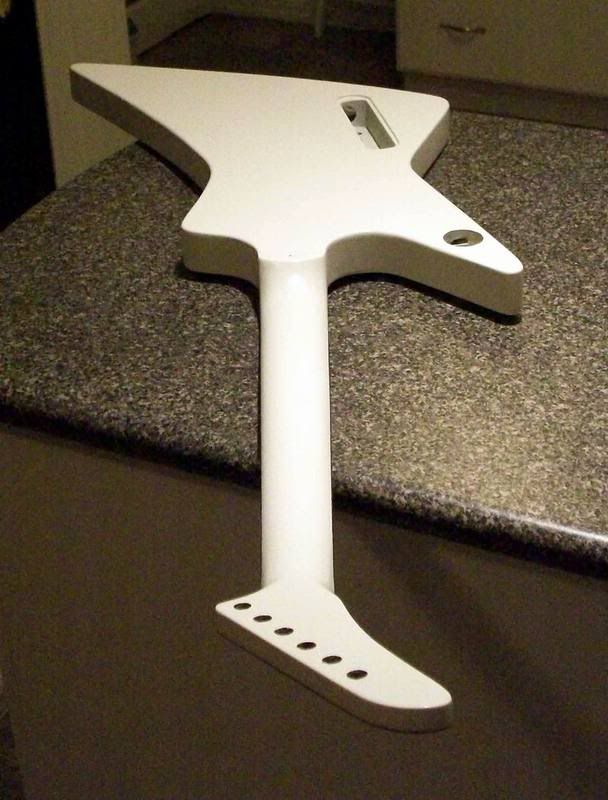
Alright, to keep this interesting, I'm going to post progress on both my current active projects here in this thread.
I'm almost ready for clearcoating the explorer, so I should have more pics soon.
Here's the Destiny so far. I finished sanding, and here it is with a coat of primer on. I found this really cool black primer. It really helps you to see any imperfections that need attention before spraying colour coats.
Comment
-
Looks very coolJeff SmeltzComment
-
Nice projects. I always enjoy these edumacational threads.Comment
-
I had the Explorer all ready for clear, or at least it was supposed to be, but the paint egde at the binding needs touching up. I had the neck masked while I was painting the front of the headstock, and the tape pulled some chips out of the edge when I removed it. I'll get some clear on this thing eventually.Comment
-
The hardest part to refinishing is being patient. So far, your project seems to be going fairly well. Hang in there!"POOP"Comment
-
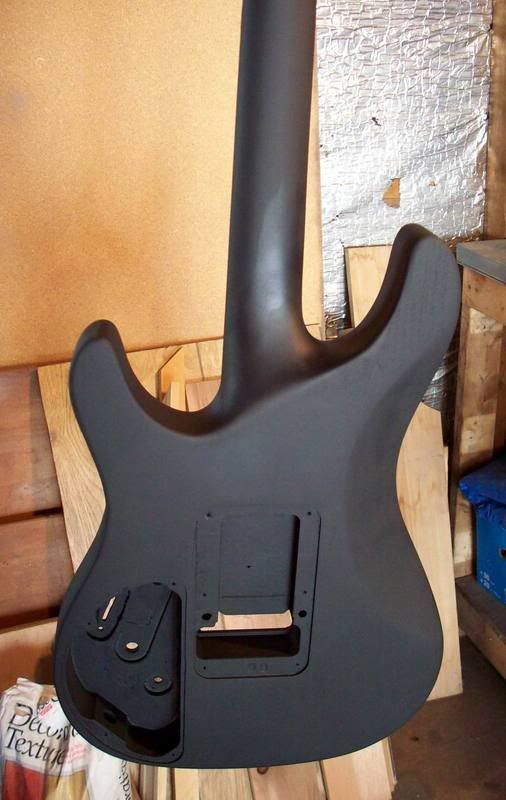
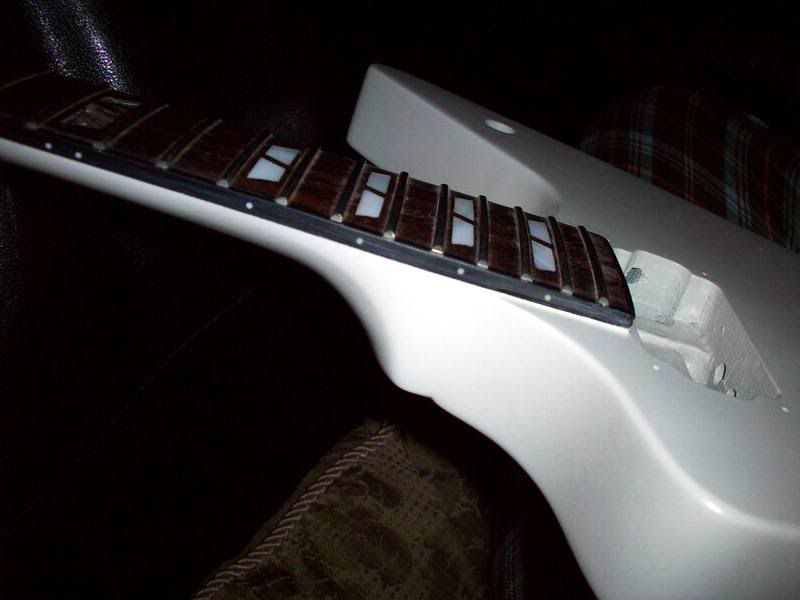
Here's a couple of updated pics, just to keep everyone on the hook.
The complete guitar:
A shot of the neck joint area. You can see how grotesque the fretboard looks in this pic. Some steel wool ought to clean this up nicely. I still haven't decided what to do about the inlays. I could try to route for new blocks, but I don't know how I would go about levelling them without pulling the frets. I could do it half assed, fill the holes with epoxy and use those stick-on inlays. I'll probably just suck it up, pull the (pefectly levelled and dressed ) frets, and do the inlays properly.
Comment
-
Just found this thread....what a great project! I wish I was handy enough to undertake something like this. Sorry for the ignorant question, but how will you ensure you get perfect holes if you decide to route for new fretboard blocks?Comment
-
I'll make templates for each block. I'm going to build a jig that holds the neck in place, with the template suspended just above the fretboard. I'll use a dremel with router attachment to route the inlays. It should be interesting because I have never done anything like this before.Originally posted by axehunter View PostComment
Comment