Announcement

Collapse
No announcement yet.

Introduction and my Kelly JS32T Project....

Collapse
X
 
  • Filter
  • Time
  • Show
Clear All
new posts

  • Introduction and my Kelly JS32T Project....

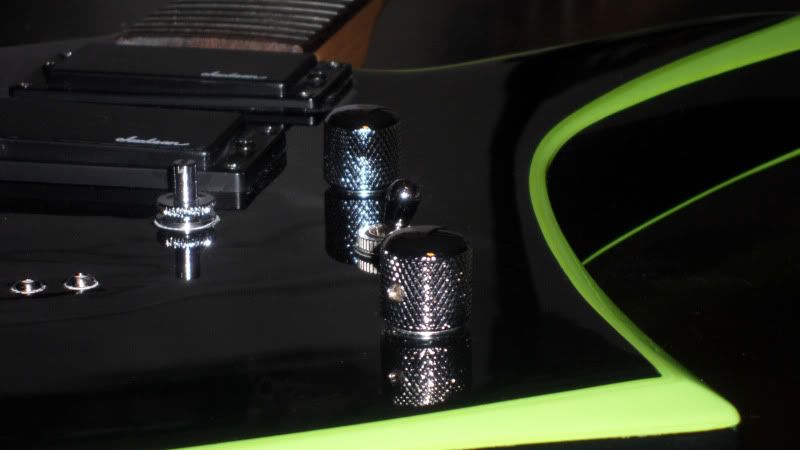
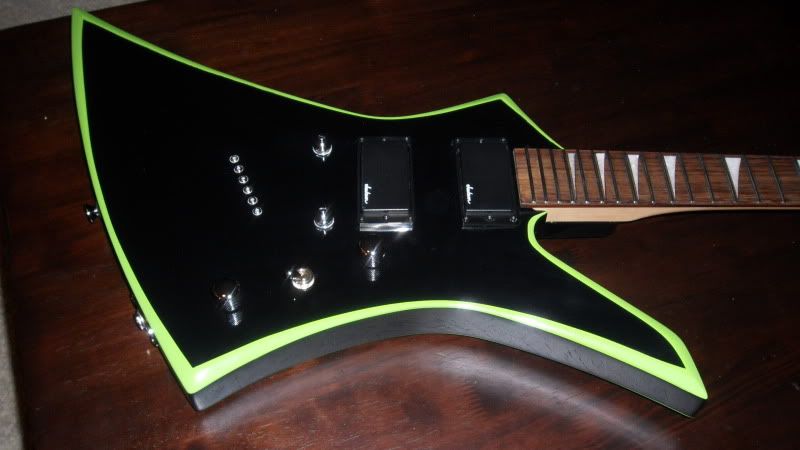
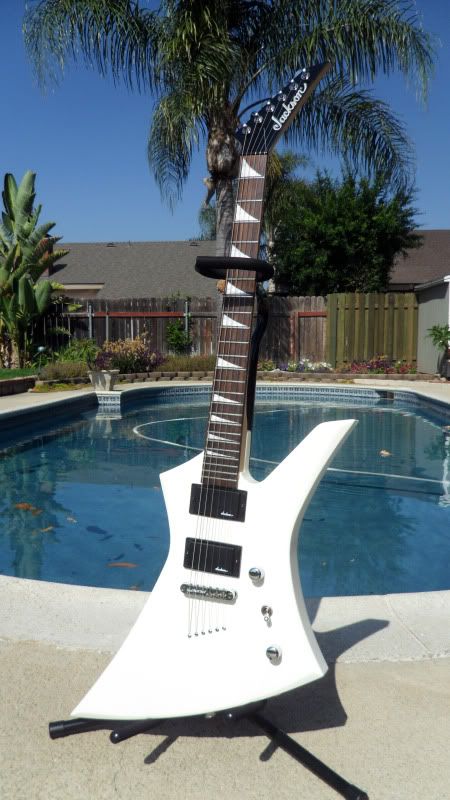
    Hello! been lurking around this site for a couple months and thought I'd say hello! Been playing for over 20 years and have always been somewhat attracted to Jacksons' but never actually owned one. When the economy took a dump I had to buckle down and work a lot more to make ends meet (along with having a new baby).....long story short, I alienated music for about 5 years or so. Back in April I decided it was time to rekindle the old flame, and decided to splurge on a new axe...an ESP M-II....pretty much the guitar I've wanted ever since I saw George Lynch playing one in the 80's, but never had the guts to pull the trigger on due to a pretty hefty price tag, relatively speaking. That definitely got the ol' juices flowing again and now I had the itch! My second most sought after guitar was a USA Soloist. With the tight budget I am on there is no way I can afford one.....YET!! So I decided that I would look for something inexpensive that I could turn into a project, but I wanted something other than a strat body to work with.....so it came down to Kelly, or V. I chose the Kelly JS32T just because I've always thought it was the best looking Explorer body out there. Anyhow, I had zero experience with guitar finishing but I am fairly handy so I thought,...How hard can it be?" Yeah right!! I found out REAL quick, this would take plenty of time and PATIENCE! After thumbing around on this site, and a few other luthiers forums, I learned a ton and got decent results. Here's my Kelly:

    Before

    after


    Not perfect by any stretch, but I am happy for my first attempt. One day I'll throw some seymour duncans in it so I can actually get some decent sound out of it. It actually plays pretty well for a low model guitar.
    Thanks for looking!

  • #2
    Nicely done. Cool retro look there. Please tell me that those bevels glow in the dark!
    Personally, I think it needs chrome pickup rings to complete the look.
    My Gear: Stoneman SG-1, Hufschmid Tantalum H6, ESP KH-6, Sully #8 JCF One-Off, Templar GuitarWorks Relic Prototype, James Hetfield Tribal Hunt KL Explorer, Coobeetsa CCG-10-DX PRO Eagle, Schecter Hellraiser C-1 Hybrid, Daly Heiro Custom, Gibson Les Paul Custom, Gibson SG Menace, Peavey Vypyr 60 Tube

    "You are dog shit in my shoe." -Newc

    Comment


    • #3
      I agree with DalyTek...chrome rings would make it "pop"!
      Very nice intro and great looking first attempt!

      Comment


      • #4
        Nice job! Congratz
        JB aka BenoA

        Clips and other tunes by BenoA / My Soundcloud page / My YouTube page
        Guitar And Sound (GAS) forum / Boss Katana Amps FB group

        Comment


        • #5
          Looks great nice job.
          Really? well screw Mark Twain.

          Comment


          • #6
            Best looking JS series I've seen. Very nice work there especially for your first time laying paint on a body.
            It's pronounced soops

            Comment


            • #7
              Very Nice dude!
              How did you go about masking the bevels? Im looking to either pinstripe or bevel a Kelly or King V body next year and have no idea what the ewasyest way of going about this would be?

              Any advice is always appreciated! And a definate fan of that colour combination!
              "If I'm in A-B and your in E-e on the 3rd fret, little string, while I'm back here, on the 7th fret big A... are we in tune?"

              Comment


              • #8
                that looks awsum nice job dude

                Comment


                • #9
                  Tell us more about how you painted it!

                  Comment


                  • #10
                    I liked "before" as well, but it's done nicely anyway!
                    Kind of unique color now, that's for sure...

                    You got any pics of the work in progress?
                    I'd love to hear something about how you did it as well.

                    Welcome aboard!
                    tremstick give-away (performer series trem)

                    Comment


                    • #11
                      Thank you all for the kind words. I like the chrome pickup ring idea!

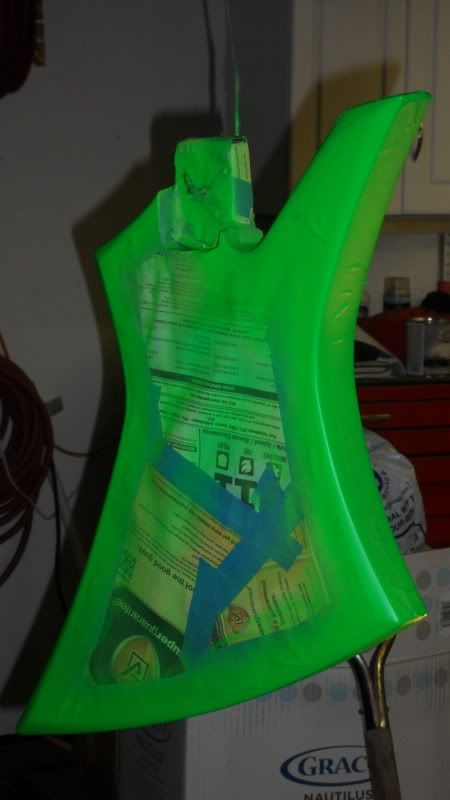
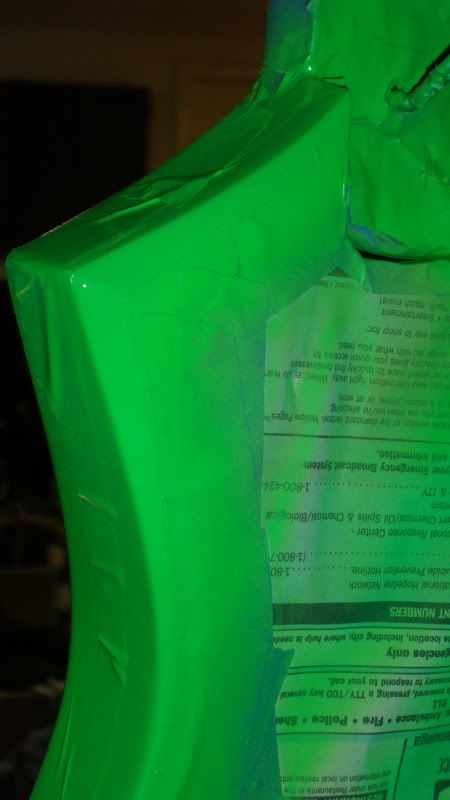
                      Logan, I learned the hard way how to mask the bevels! I tried 3m blue masking tape and got tons of leak through and it is not very maneuverable either...had to sand the body down and re apply the black base, let it cure for about a week, then try again. The second time I tried electrical tape and that worked much better. It did end up leaving some sticky residue behind, so I ended color sanding a bit before the clear coat, no big deal. Electrical tape is also very flexible and you need that on a body like the Kelly. I would imagine that there is some type of pinstriping tape that might work a little better. I did a ton of research and it seems like every post about what type of tape to use was blue painters tape. I just think all the bends in the Kelly made the blue tape less effective.

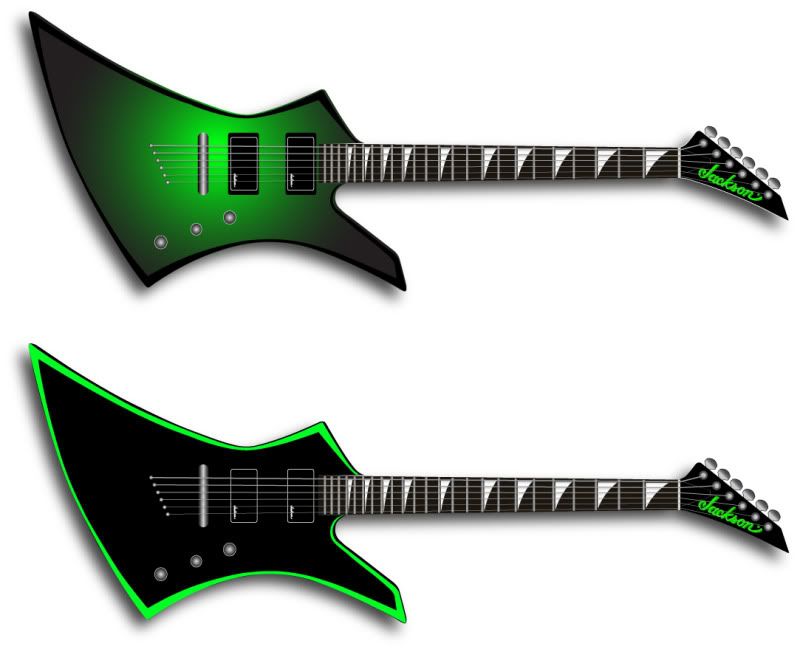
                      I had every intention on making a detailed photo journal on my experience, but after having to strip lacquer off of the guitar 2 times because of errors, I ended up not taking enough pictures because I was too frustrated. First off, the finish I ended up putting on the guitar, was not my first choice, my first choice was to be a green burst with black edges. I planned on using automotive lacquer shot through my spray rig, but after realizing that buying 2 different colors of lacquer, the hardeners, and clear would cost me in excess of $200, I started looking for other options. I paid $200 for the guitar and I wasn't about to drop more cash into color than the guitar cost me. I really wanted to shoot the color on through my spray rig for better results, but I was finding out that rattle cans were my best bet, my color selection was going to be very limited and I was dead set on the green/black combination. I started looking for a brand that made the green I was looking for, but I couldn't find anything except for model car lacquer. After some reading I decided to try it so I went to my local hobby store and grabbed 3 cans (small cans) of Tamiya flat black and Tamiya light green. After I laid down the black I let it cure for about a week, then taped off my bevels and shot the green. At the very least, I wanted to shoot the clear out of my rig so the color sanding process would be a little easier, so I picked up a quart of Duplicolor clear coat. I thought I cleaned my gun out good enough, but as soon as I started shooting the clear I noticed hundreds of tiny white flecks on the guitar, obviously still left in the gun from a previous painting session....at this point, I had already stripped the guitar down once before because of another error I made, and I was pretty much over the whole idea. I gave up on this whole project for a couple weeks to let some steam blow off. When I was ready to try again, I went back to the hobby store to get more lacquer only to find out that they were sold out and there is a huge delay on receiving the Tamiya brand from Japan because the U.S. is making them relabel their cans because of something to do with the warning label or some BS like that. I went to about 8 different hobby shops in my area and heard similar stories from everyone. anyways, long story short, I ended up using Rustoleum brand black lacquer, and Tamiya green for the bevels, and Testors brand "wet look clear". It all worked out fine, still not 100% cured, but good enough to bang around on it a little for now. I gave you guys the short version of the refinish experience...believe me, there were about 5 times I almost used this thing as firewood during this process. Next time I decide to do a refinish, I am sticking to reranch or stew macs Nitro Lacquer...even though there is little color variety.
                      Here are a few pics I snapped along the way.

                      Here is what I had in mind for the finish, the burst being my first choice.

                      I learned very quick, you can't do a burst effect with rattle cans!

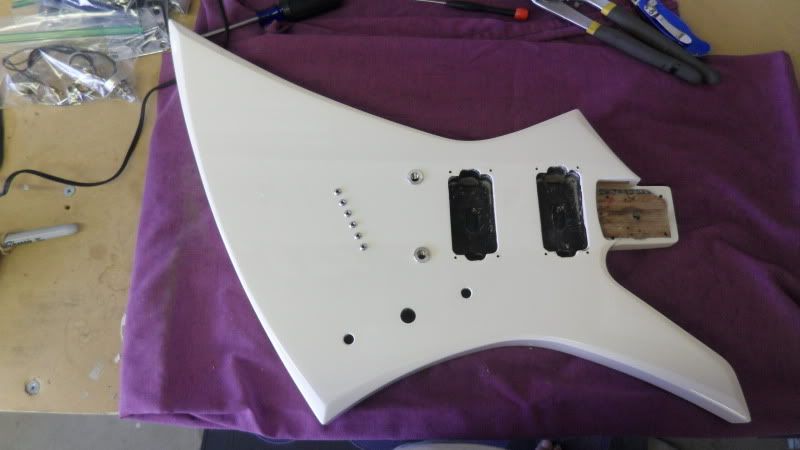
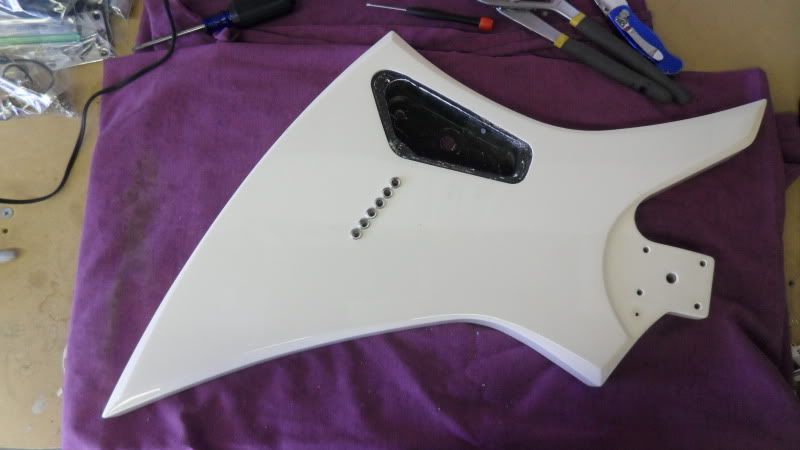
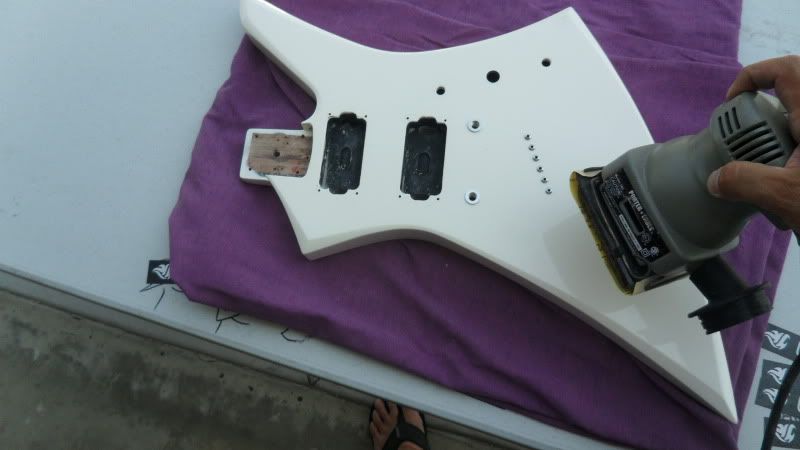
                      Stripped everything I could off guitar


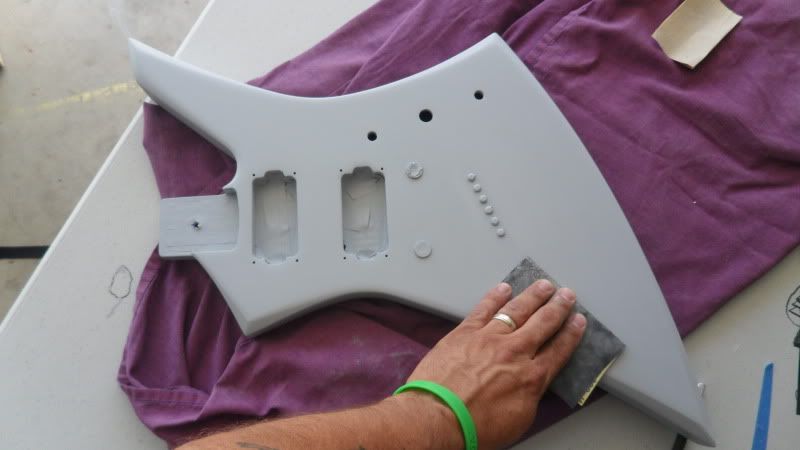
                      Start sanding with 220 grit


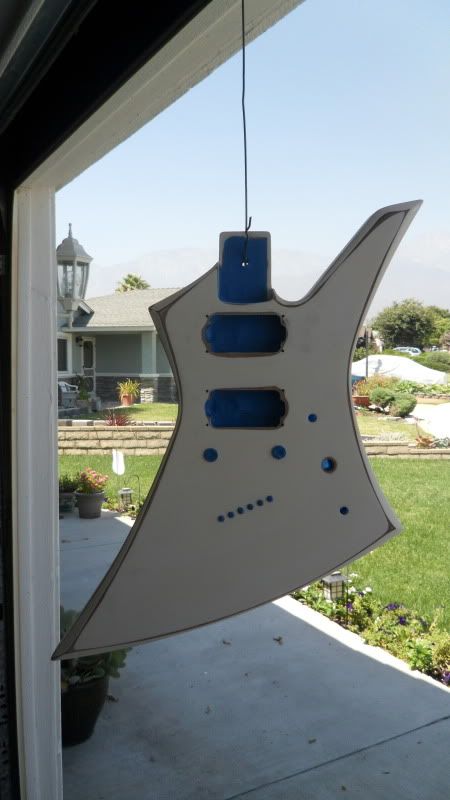
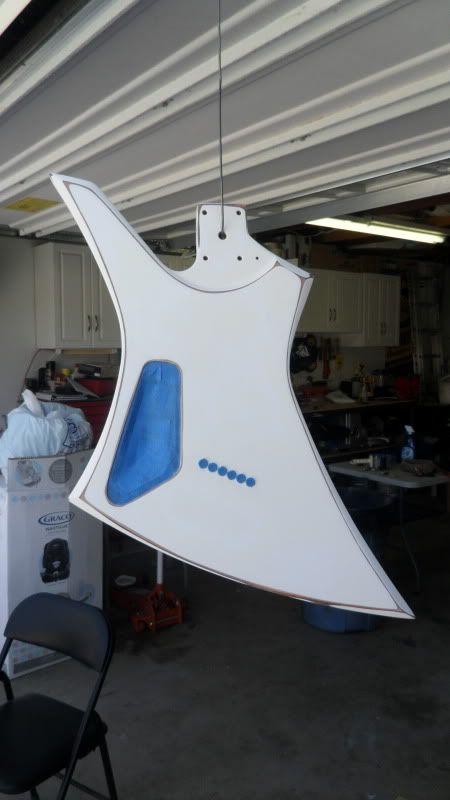
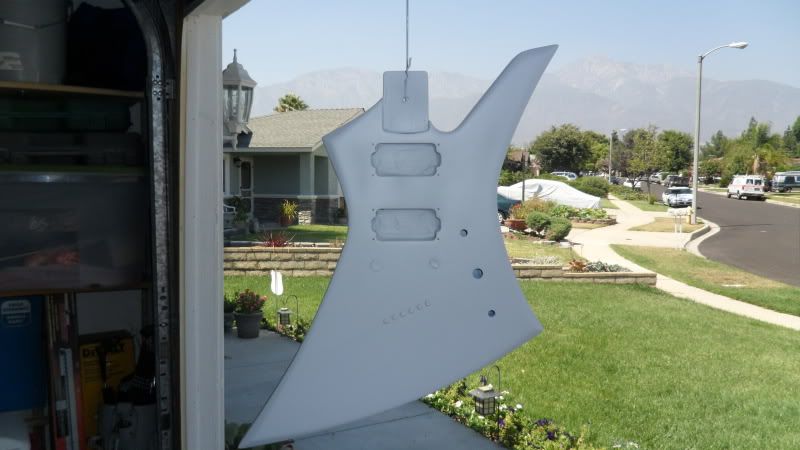
                      tape off all hardware, clean any dust off guitar and hang for primer


                      1 can of Krylon primer


                      Sand the primer with 600 grit sandpaper to get out any imperfections


                      I forgot to snap a picture with the black base coat down but here is the bevels all masked off and painted


                      next, clear was laid down... 4 of those small cans of Testors Wet Look Clear. 4 cans is all I could find...it could have used about 6 cans.

                      Let dry for almost a month, ready for final sanding.

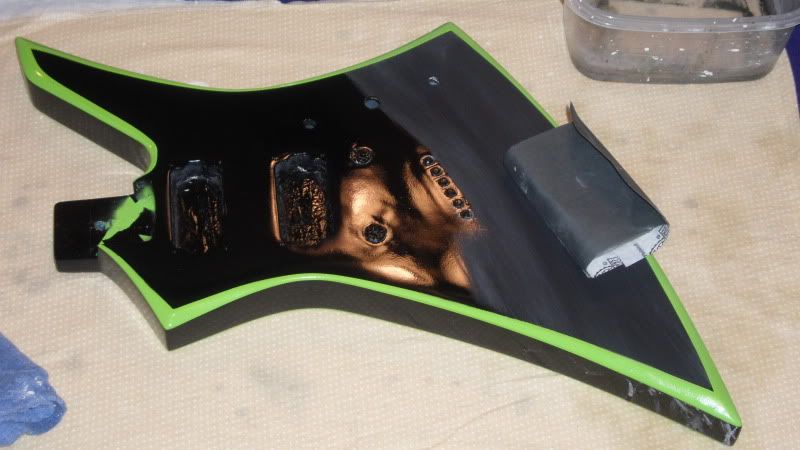
                      Used a semi hard sanding block and started leveling with 600 grit wet sanding, then worked my up to 800 grit, then 1000 grit and ended at 1500 grit. I did get a sand thru spot, so I just sprayed some black lacquer on a small paint brush and touched up the area, then spot coated the clear and repeated sanding process about a week later...seemed to work fine.
                      I buffed with some Turtle wax brand polishing compound, then polished with the same brand swirl remover.


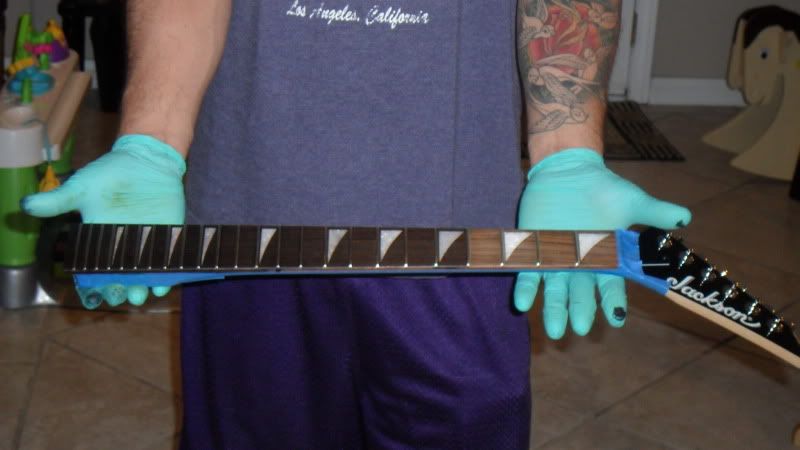
                      Also, I wasn't feeling the rosewood fretboard so I got a bottle of Fiebing's Oil Dye from stewmac and applied it. Some say it doesn't really work all that well, but I think it turned out very nice, here is a pic with all but the last 4 frets stained.


                      There is plenty I will do different next time, but I learned so much with this project that I'm already itching to start a new project.

                      Comment


                      • #12
                        awsum man looking very cool

                        Comment


                        • #13
                          Cool sharing the "How-to"!!! I have a JS30 Kelly that would need a good paint job! You are tempting me!
                          JB aka BenoA

                          Clips and other tunes by BenoA / My Soundcloud page / My YouTube page
                          Guitar And Sound (GAS) forum / Boss Katana Amps FB group

                          Comment


                          • #14
                            Do you have a plan to redo the headstock in matching green like in your mock-up?
                            My Gear: Stoneman SG-1, Hufschmid Tantalum H6, ESP KH-6, Sully #8 JCF One-Off, Templar GuitarWorks Relic Prototype, James Hetfield Tribal Hunt KL Explorer, Coobeetsa CCG-10-DX PRO Eagle, Schecter Hellraiser C-1 Hybrid, Daly Heiro Custom, Gibson Les Paul Custom, Gibson SG Menace, Peavey Vypyr 60 Tube

                            "You are dog shit in my shoe." -Newc

                            Comment


                            • #15
                              I have an RR3 with the ends destroyed I was thinking of throwing through a little refin... Very nice thread.

                              Comment

                              Working...
                              X