Announcement

Collapse
No announcement yet.

DXMG Project

Collapse
X
 
  • Filter
  • Time
  • Show
Clear All
new posts

  • DXMG Project

    Hello all, I'm a new guy, but I've been lurking for a while. I'm doing some work on my DXMG, so I thought I would share.

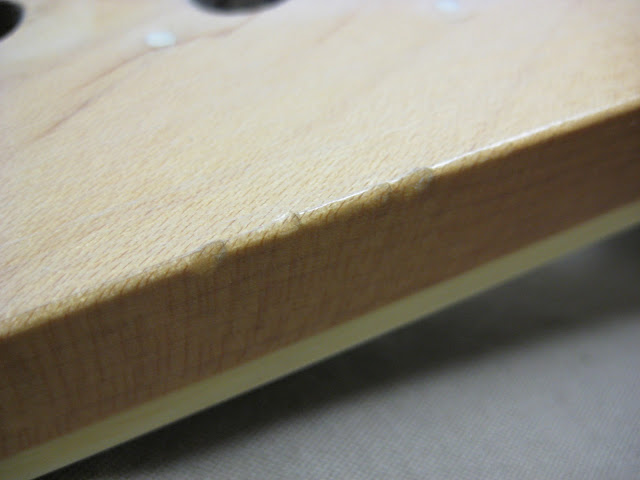
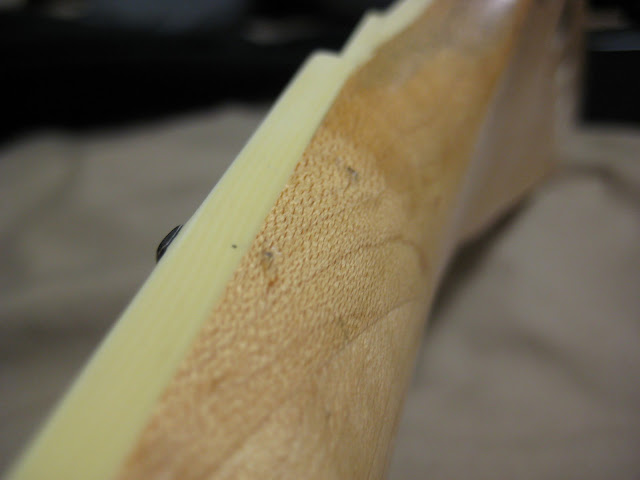
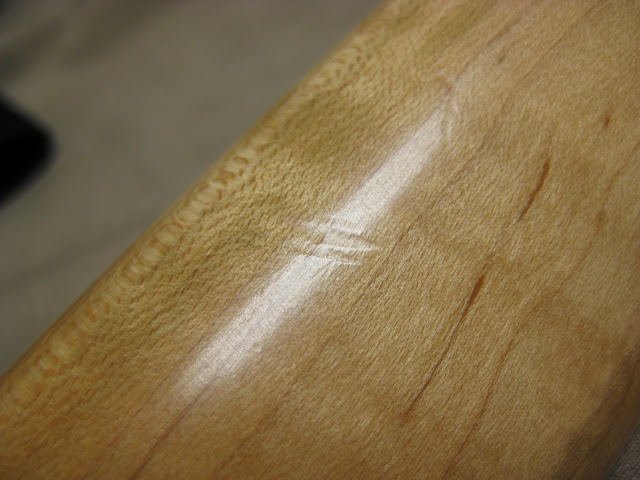
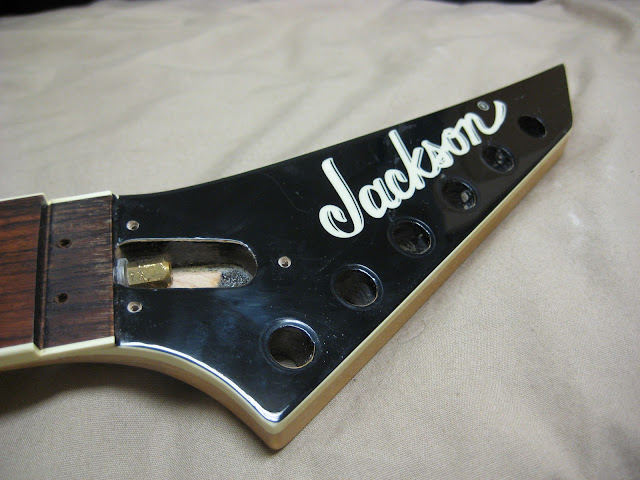
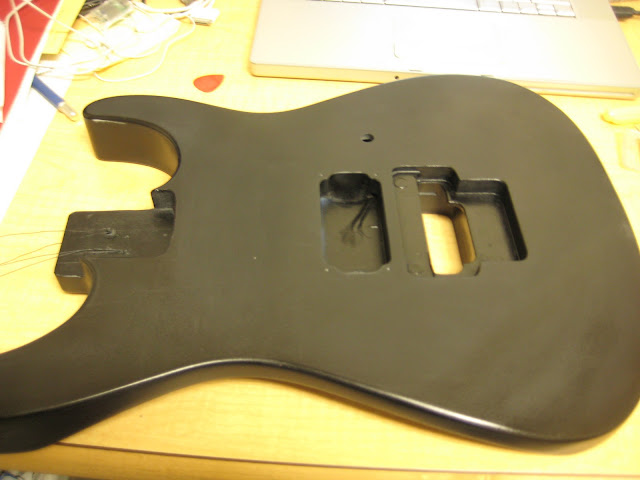
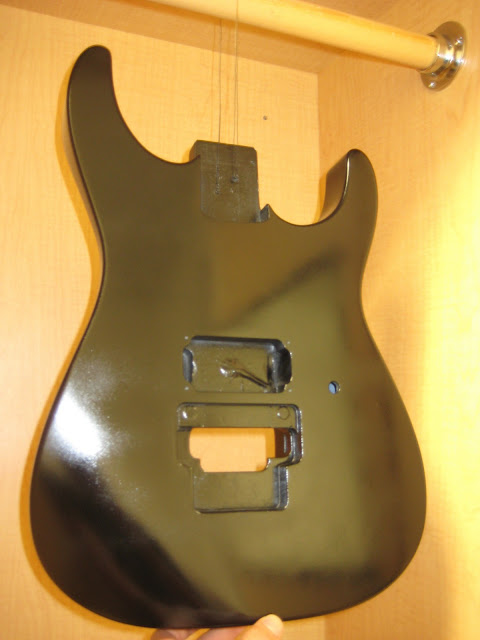
    Now, I used the DXMG neck for some other project I did a while back (A Star with a floral pattern finish similar to the JEM 77FP), so I got a DKMG piranha neck on the bay, and am using that for this project. Let's start with some pics:


    25
    Pink clip-lock strap
    24.00%
    6
    Green clip-lock strap
    76.00%
    19
    Last edited by S1I2F3; 11-28-2011, 10:14 PM.

  • #2
    Welcome!

    So far, so good. I'm interested in what you're going to do with this.
    I feel festive all year round. Deal with it.

    Comment


    • #3
      Here are some pics of the neck. I've had the DK neck on the guitar for a couple of years, and it plays pretty well, the frets are in pretty good shape. The neck is just a little dinged up, but nothing some sandpaper can't fix.


      The nut shelf is perfect, so no problems there:

      Comment


      • #4
        I'm plugging the neck pickup cavity, as well as the control holes. I'm going EVH style, as I'm sure you could have guessed by this first image:


        Neck cavity markings for those who are interested:


        Comment


        • #5
          I'm also filling the tremolo spring cavity cover routing, because f*#@ that cover, am I right?


          Comment


          • #6
            Cool, what colour are you going for?
            I feel festive all year round. Deal with it.

            Comment


            • #7
              Some primer on the body. I'm going rattle can on this guitar (more on that later), so I used the following primers. The Rust-oleum "Painter's Touch" sucked ass, so stay away from that one. After I realized this I got the Rust-oleum "Stops Rust" automobile primer, and this stuff was awesome. Wet-sanded smooth as ever, I definitely recommend it.


              Comment


              • #8
                Originally posted by levantin View Post
                Cool, what colour are you going for?


                You may be wondering, WTF? So allow me to elaborate. I ordered a print from a company that does "car wraps," that adhesive vinyl that they print advertisements on and stick on cars. I'm going to apply it to the front, back, and headstock, then clear over the whole shebang.

                For those interested, I ordered from Marc, at http://www.wrapvehicles.com/. I called, and he hooked me up with a great deal, and is sending 2 prints, which allows room for error. I should be getting them on monday, so I will let you know how they look.

                I know the term "adhesive vinyl" turns a lot of folks off, especially if you've seen the Youtube vids where they just slap it over a finish and call it a day. I think if it's done right though, and properly cleared over, it can look pretty hot.

                Comment


                • #9
                  Some progress on the neck:


                  If you noticed before, the black finish on the headstock went all the way to the edge (lame), when in reality there is actually a nice binding lip underneath (awesome!). I'll definitely be using it:


                  Used super glue and sanding dust to fill the chips:


                  Look at that sharp edge

                  Comment


                  • #10
                    Let's talk decals. I got a roll of some green adhesive vinyl material, and I'll be using that for the headstock and spring cavity decals:


                    I drew up my decals in Photoshop, and printed it out on some graph paper (the paper is really thin, which is important). I then used some double sided tape to tape the paper to the front of the vinyl. Keep in mind, I put tape around the image, no tape went directly under the image.


                    I like having the spring cavity uncovered, and since I try to be a detail oriented person, if it shows, it has to look good. So I'm paying some extra attention to that cavity, it's nice and smooth, and I'm going to hook it up with a sweet decal (I only use 2 springs, so it won't be covered up too much):


                    Now that your images are stuck to the vinyl, you'll use a blade to cut them out. You will want to use a light touch, so that you only cut through the thin paper and the vinyl, not the vinyl backing


                    Once you cut your image out, you remove the excess, and you should be left with something like this (don't ask me how long it took to cut out that lion):


                    I then cover them with some blue painters tape, and you got yourself a sweet homemade decal!


                    Comment


                    • #11
                      Cleaning up the cavities prior to black paint:


                      For the black coat, I used Rust-oleum "Stops Rust" enamel:


                      I wet-sand in between coats to get a progressively smoother finish:


                      It is enamel, and oil based, so I'll be using a urethane for the clear (after I let the enamel cure for a while). I'm using a 2k clear, which, in my opinion, is the only clear to use for this type of paint job. It cures hard as a rock in a few hours, due to the catalyst you engage (red button):


                      I can admit, rattle cans aren't the easiest to work with, but if you exercise patience you can get good results. Patience I tell you!

                      Comment


                      • #12
                        Well, I'm all caught up to my current state of progress. I'm waiting on the vinyl wrap, then after that I'll oil up the neck, and start the process of clearing the neck and body. I always hate when project threads keep you hanging, so I'll be sure to keep progress steady (more for my own sake than yours I'll admit!).

                        If you gents have any questions for me, feel free to ask!

                        Comment


                        • #13
                          Nice work. You've got my attention.
                          I want to go out nice and peaceful in my sleep like my grandfather, not screaming and hollering like the passengers in his car.

                          Comment


                          • #14
                            Looking good.
                            I feel festive all year round. Deal with it.

                            Comment


                            • #15
                              Looking good... I await further updates!

                              Comment

                              Working...
                              X