Announcement

Collapse
No announcement yet.

Customizing a Jackson DR-7....

Collapse
X
 
  • Filter
  • Time
  • Show
Clear All
new posts

  • #16
    I'm modding a DR-7 at the moment and have fitted a 81-7 (same dimensions as a707) and you will need to fill in the wings (ears) of the pickup route as they are wider than 3.5" then route a rectangle 3.5"x1.5".

    The depth of the 707 is .880"(22.35mm),so with you lowing your neck break angle you will have to deepen your pickup routes to suit.

    Use superglue in your dips and dents,as superglue won't drop later( it's the only thing I've used that won't dip over time)

    Comment


    • #17
      Gotoh's are the best tuners imo, especially the Delta series. They are very smooth and don't slip at all like most other tuners do. Cosmo means there cosmo black, sort of a chromey black.
      2003 Jackson SLATQH Custom (cobalt cabo), 2002 Jackson SLATQM (burnt cherry), 2011 Jackson Chris Broderick Soloist (transblack 7), 2007 SL2H (black)
      Mesa Road King, Bogner Uberkab, Mesa Lonestar Classic, Kemper Profiling Amp, Eventide H8000

      Comment


      • #18
        Hi all,
        sorry iv been a bit long there -
        Indeed, the EMGS have arrived and I have routed accordingly, althouth I still await my PU mounting rings (easiest and quickest option I have for fitting with a tidy finish here -
        Thankfully the routing wasnt too difficult, as for the PU height, i see exactly what you mean about the depths being a bit much, however the pick up recesses in the DR7 appear to be addequate in the bridge position (or close to) and easily enough in the neck, though they were both at angles so I have re cut 2mm lower in both but i think i may lower them still!

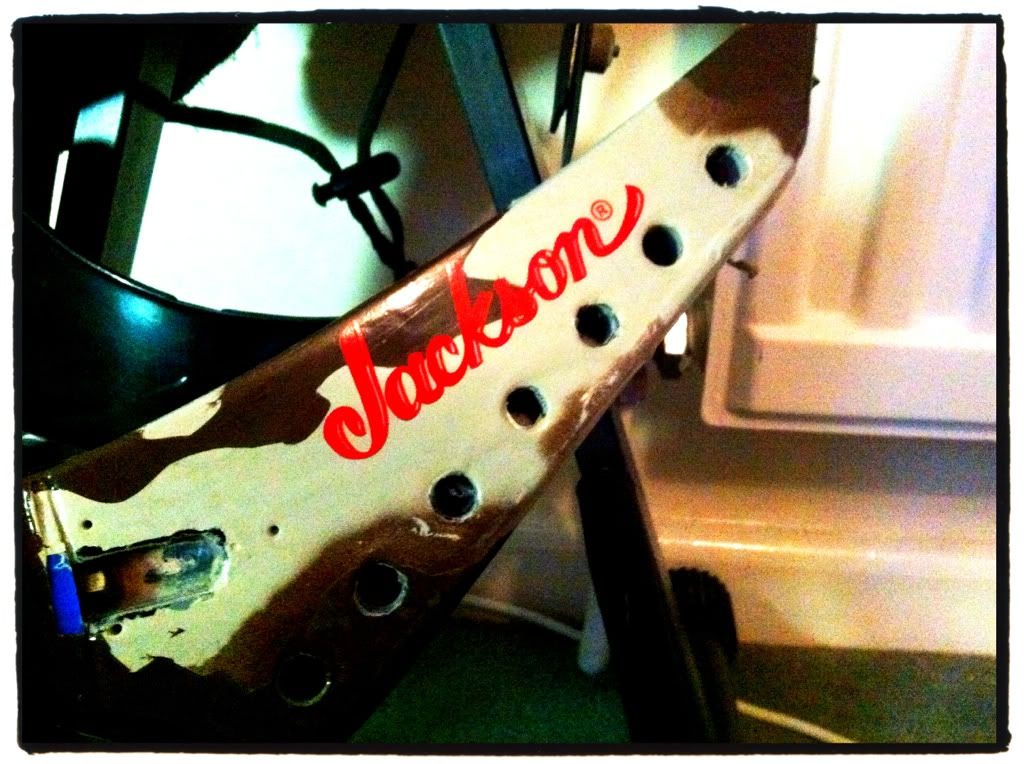
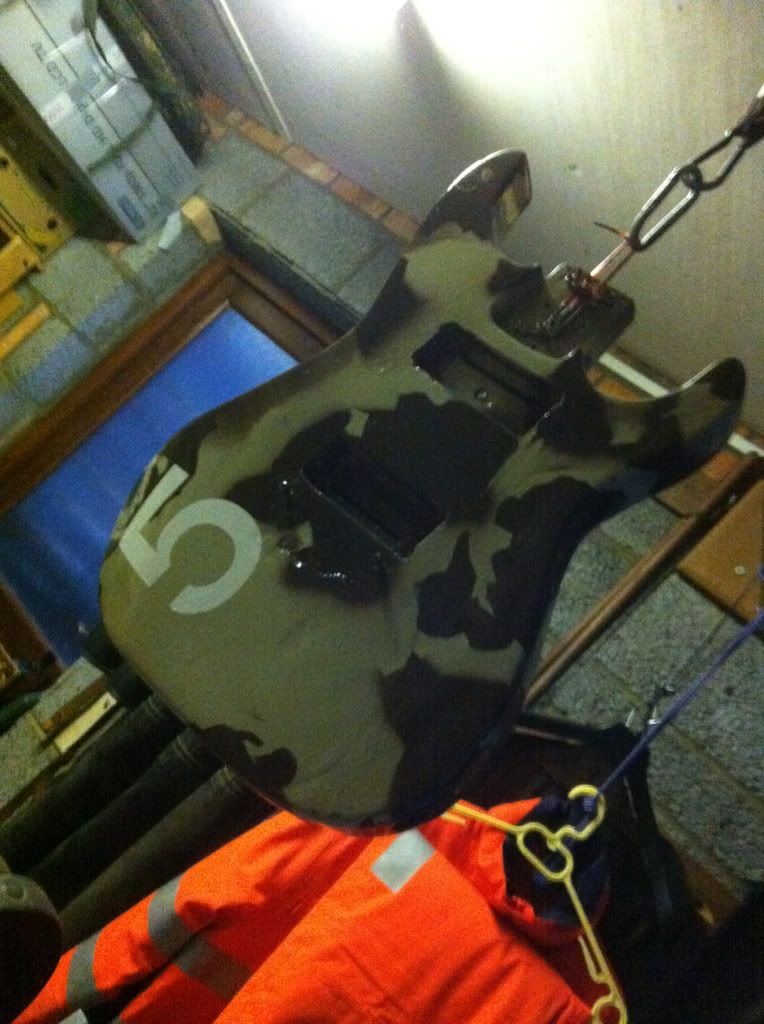
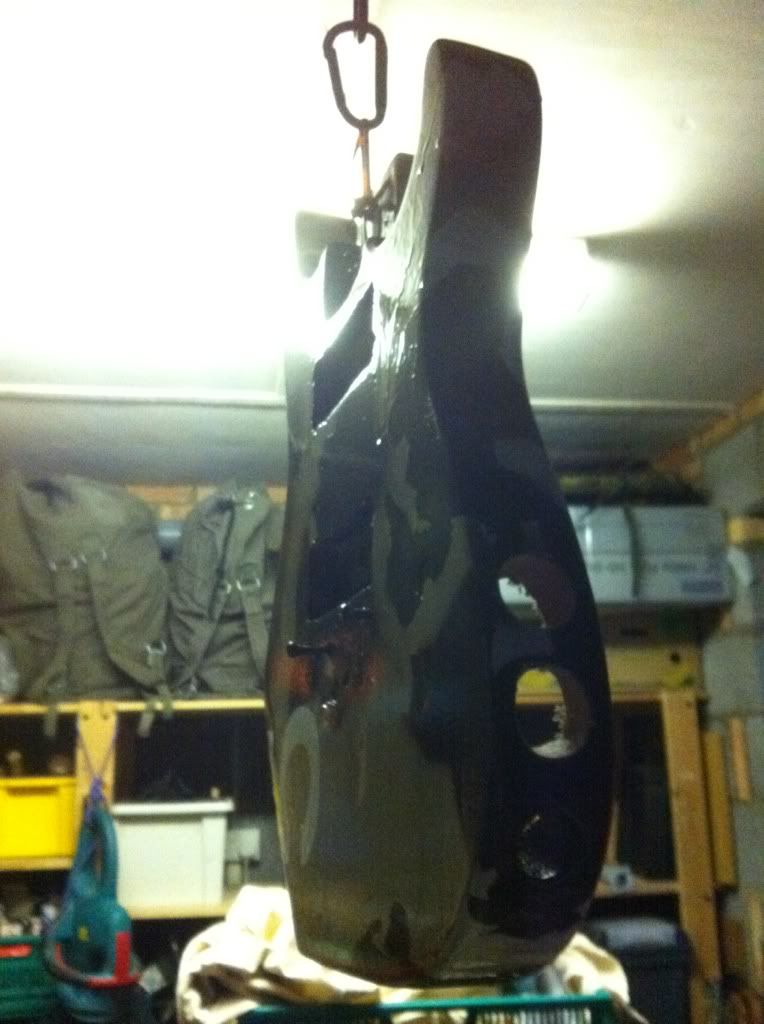
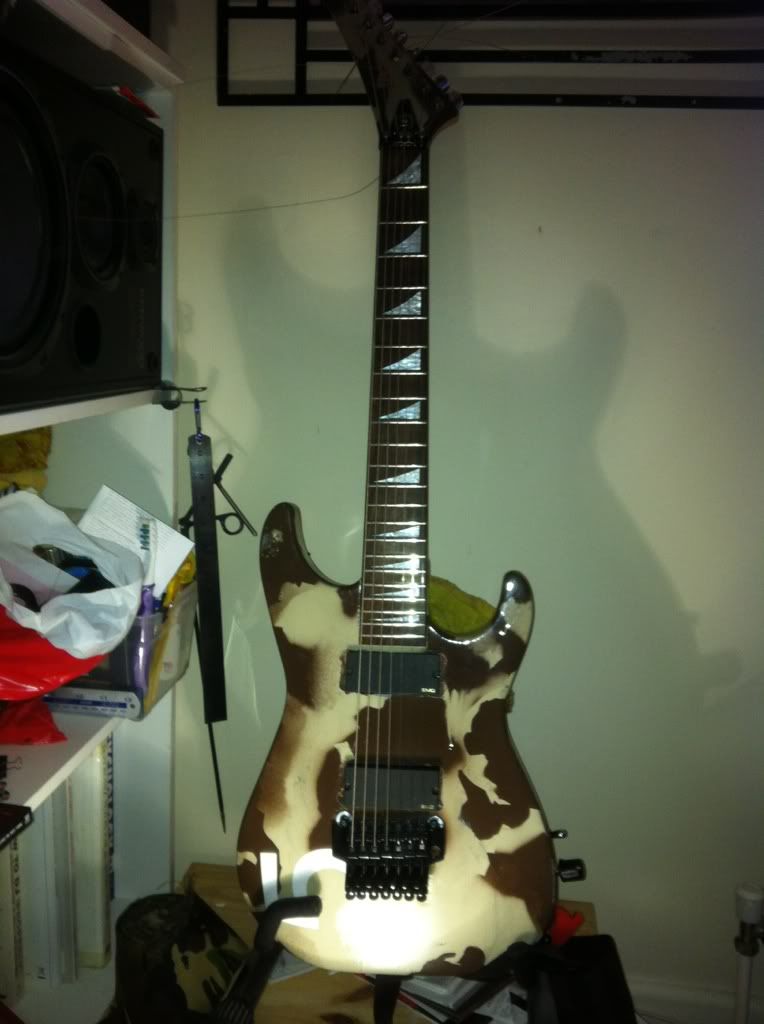
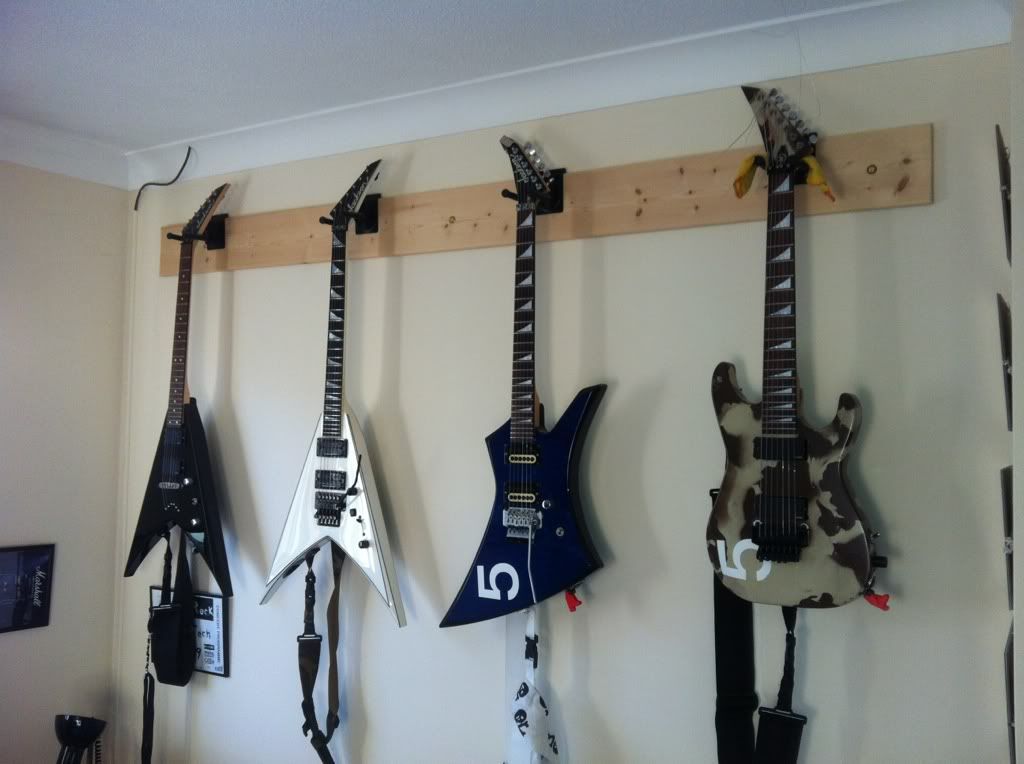
        As for the body, I have finished my detailing and wearing so it looks a bit more interesting, added the first vinyl layer (or marker) to the headstock and also finished detailing the body....

        I have decided to use an irregular switch set up as im sure you have noticed, but more on that later...

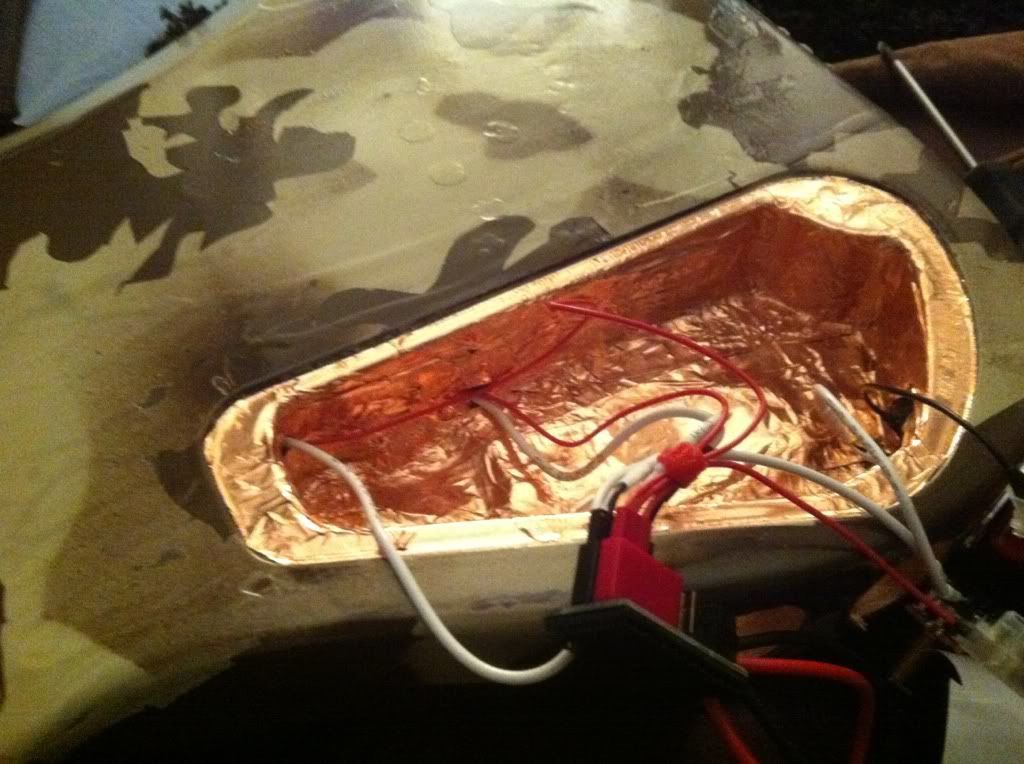
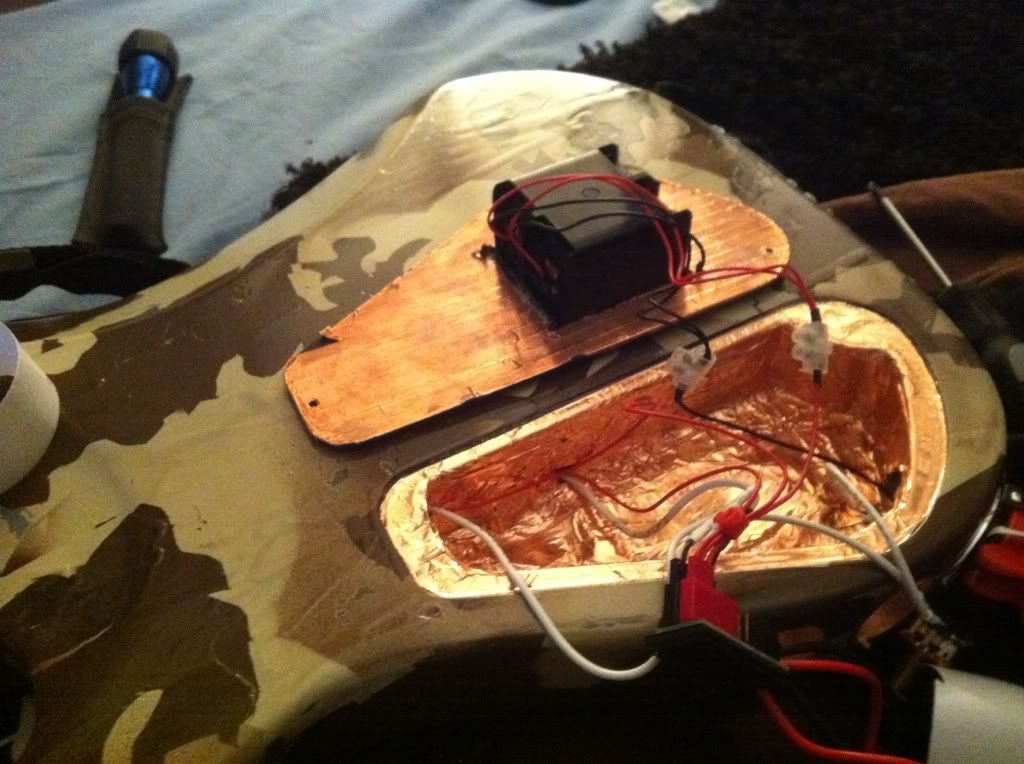
        I have drilled out the recesses for this when i did the PU cavities, and also smoothed in the control cavity back as best can to allow for the 18V batt box to fit with ease

        Well heres the pics of the last weeks efforts, somewhat hampered by mental storms and work, but no one said it would be easy!

        I hoping to get an "exploded [arts" pic in too before i actually construct the beast with all the parts listed for reference

        As for machine heads, im sticking with the originals for now as i managed to locate my spare set that arent totally munched on the cogs, but definately seeing what you mean about the sperzels... have some on my V and althoughy i wasnt sold at first, comparing them to the others iv come across with that pizza cutter wheel on the back that shreds your fingers, sperzels dispite the same set up just seem to be an easier option!

        well heres the progress!
        "If I'm in A-B and your in E-e on the 3rd fret, little string, while I'm back here, on the 7th fret big A... are we in tune?"

        Comment


        • #19


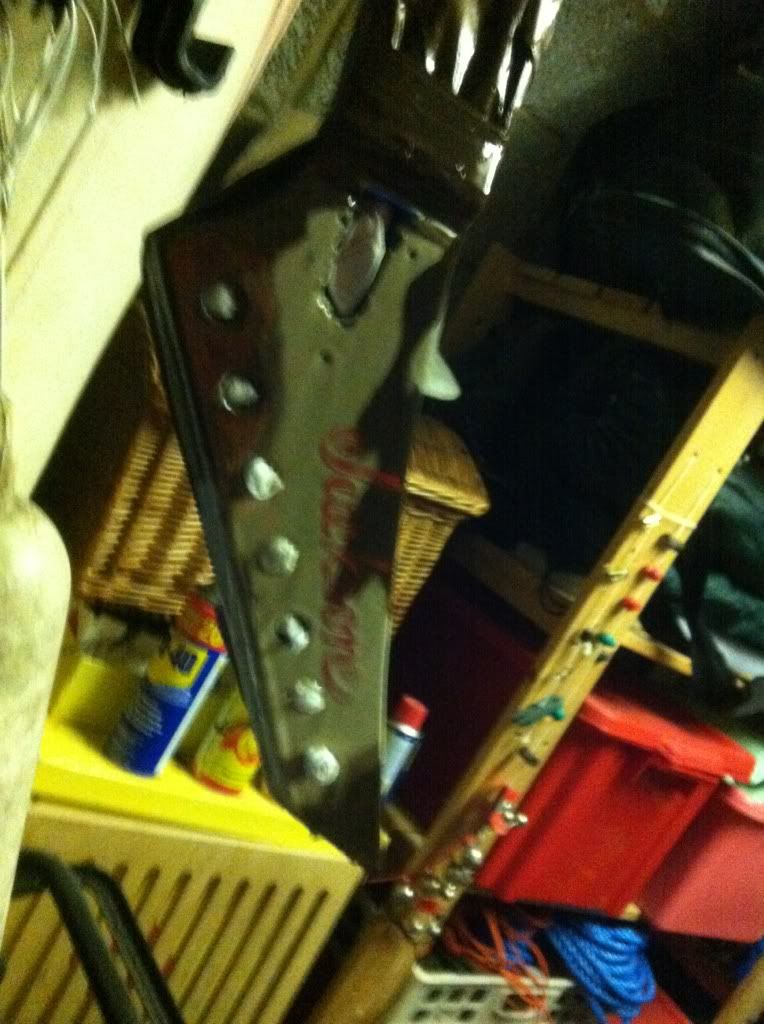
          Readu for detailing and below the iheadstock with the marker applied ready for lacquer


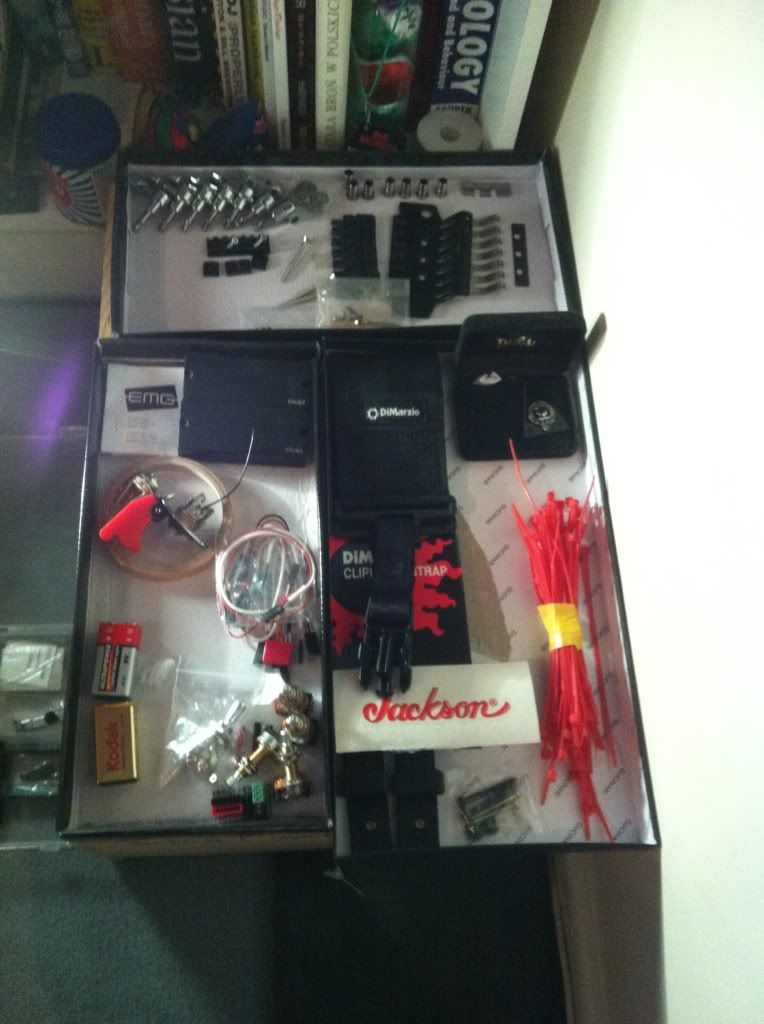
          The Parts haul so far....


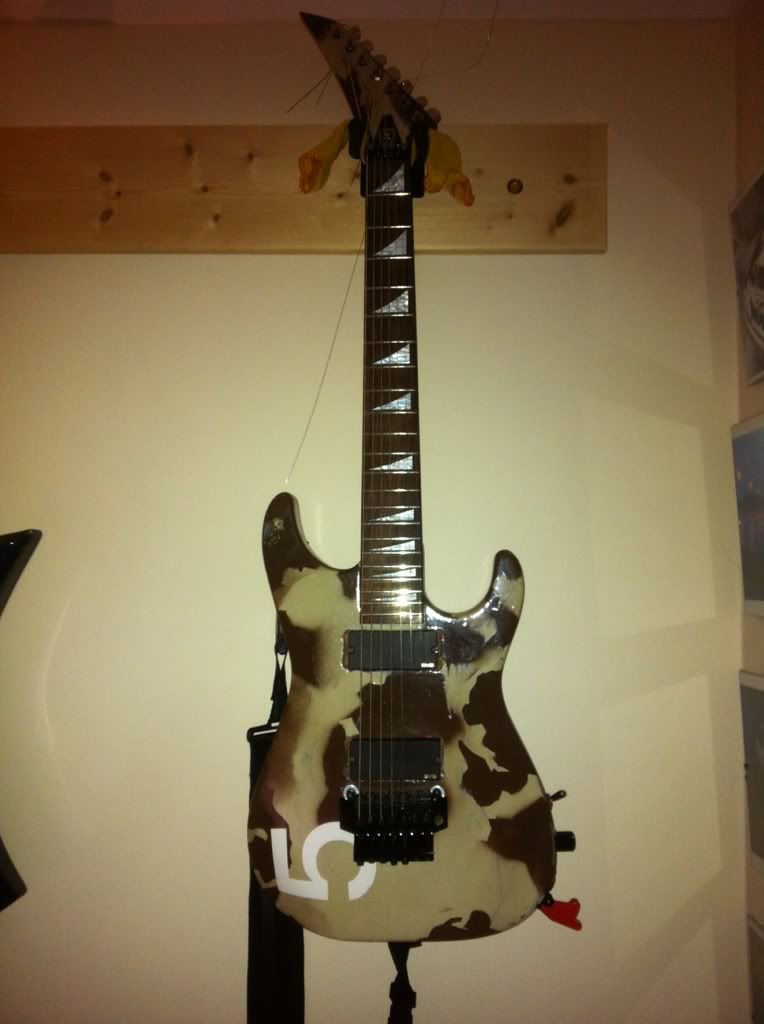
          I found a really effective way of adding shade and detail to the finish was to use graphite pencil over the sanded finish, then smooth it in with a cloth, made for a stained and grained look, generally making it look less like wood was the idea!
          Didnt go too overkill mind as I wanted to keep it looking interesting and worn looking, but not looking like its ready for retirement!


          The headstock on its final lacquer coat with the marker still just visible - once shes dry and polished il get the propper vinly on and probably go with one final lacquer coat just to seal it on and keep it tidy before i buff the crap out of i all!


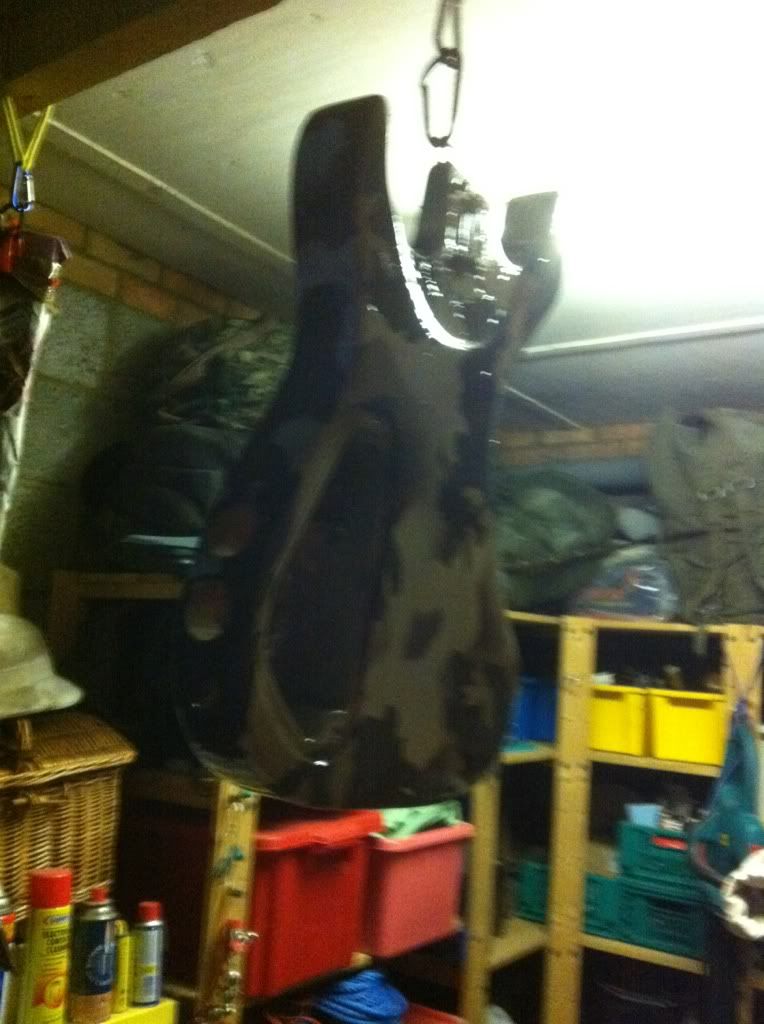
          the last clear coat looked really quite tidy, certainly a lot better on than the first base coat anyways.... also found that by roughing the finish with slightly haresher paper (P400) it allows for a better graining finish like wear marks when you spay the second coat over and sand back -

          All in all im pretty happy so far, its a bit of an odd one for me but i think its all still a going the right direction!

          I used no more nails semi acryllic glue to seal in the control holes, but i the end decided to sand them back so they are slightly visible (only the main three, the mini switch hole and the strap holes, screw holes and string ferrule holes have all been flushed in) as a bit of a feature! So a big thanks on the glue tip! and also a thanks for the 707 dims as it allowed me to mark them up prior to their arrival! Had they not arrived quite so quickly my intention was to crack on with it regardless today!

          I am glad i did go with the heavy duty primer so as to allow me to use it as a base to score through the finish to expose as a feature, but in hindsight i could have resprayed first, scored then filled with either liquid graphie or detailing clay which would have been considerably cheaper and easier! largely due to the primers innefectiveness to accept any paint i seem to put upon it! (again!)

          well.... by next weekend i should be getting ready to assemble - so do bare with as if im not postin im likely working on it
          "If I'm in A-B and your in E-e on the 3rd fret, little string, while I'm back here, on the 7th fret big A... are we in tune?"

          Comment


          • #20


            "If I'm in A-B and your in E-e on the 3rd fret, little string, while I'm back here, on the 7th fret big A... are we in tune?"

            Comment


            • #21
              All in all looking pretty hench just a few bits to tidy up now...
              Video link to follow now we have the t'internet back once more!
              "If I'm in A-B and your in E-e on the 3rd fret, little string, while I'm back here, on the 7th fret big A... are we in tune?"

              Comment


              • #22
                Store your photos and videos online with secure storage from Photobucket. Available on iOS, Android and desktop. Securely backup your memories and sign up today!

                Sorry for the poor quality playing, but i hope youll get the impression of what she sounds like now
                "If I'm in A-B and your in E-e on the 3rd fret, little string, while I'm back here, on the 7th fret big A... are we in tune?"

                Comment


                • #23
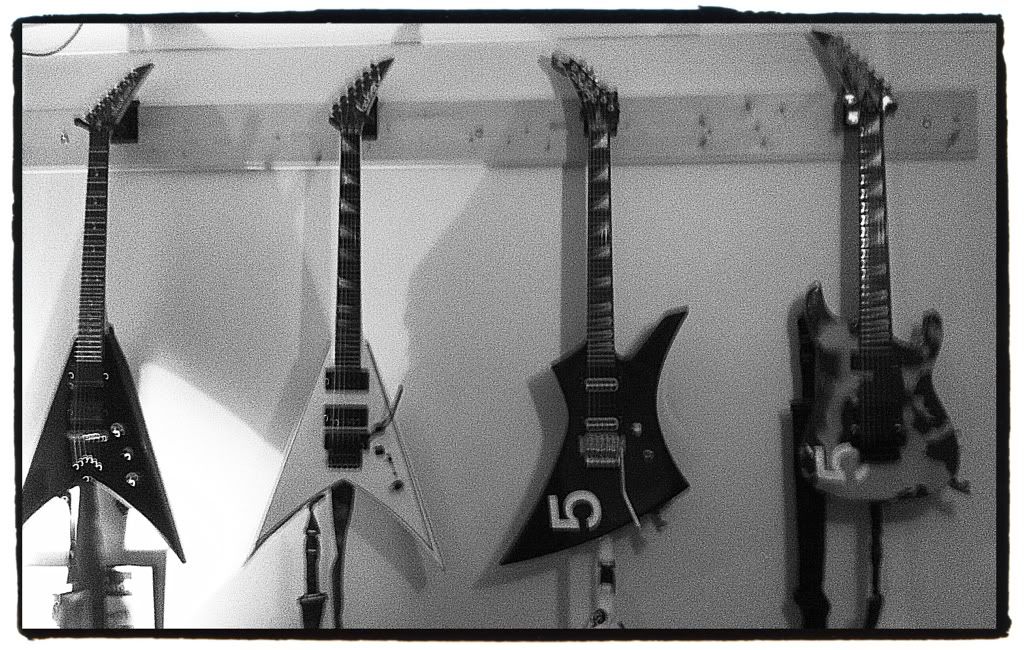
                  Great! I like restoration projects! I posted a new thread of my conversion from js30rr to a wannabe RR5 :P check it out

                  Great camo finish you made there!

                  Comment

                  Working...
                  X